The Process of Painting a Mural
I was recently commissioned by an old friend to paint a mural in his home.
I started by drawing some digital mock ups.
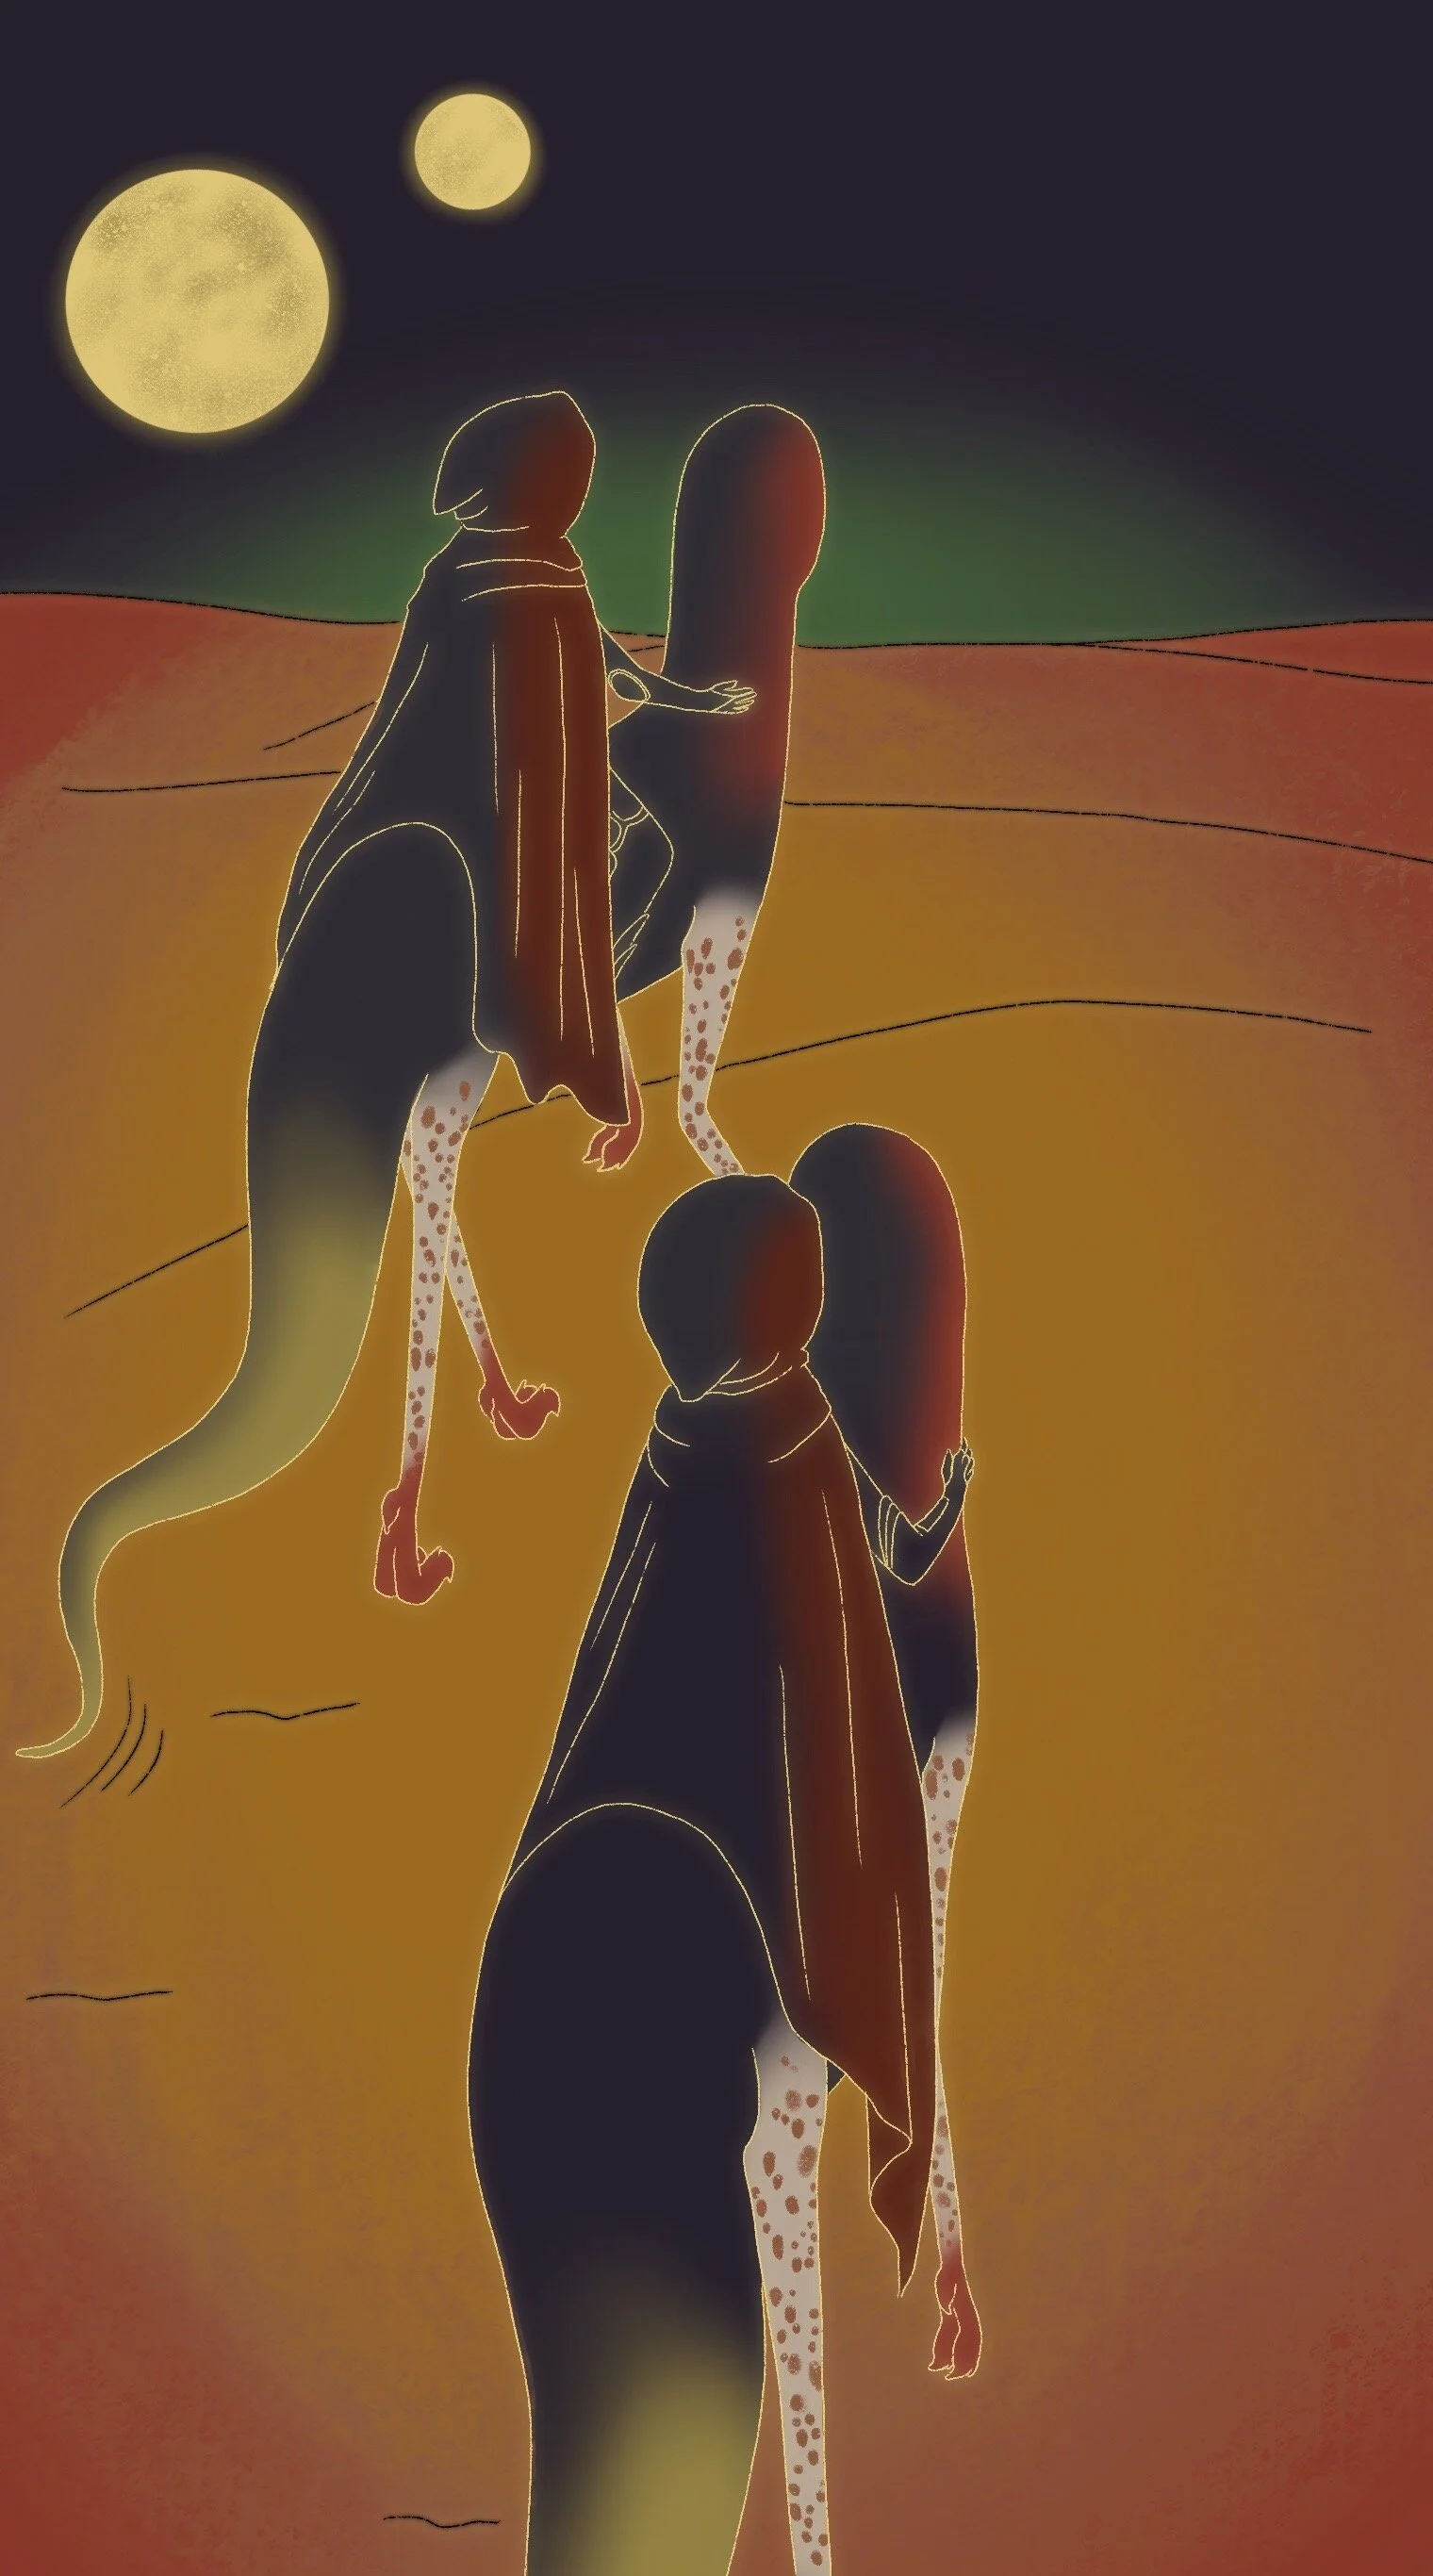
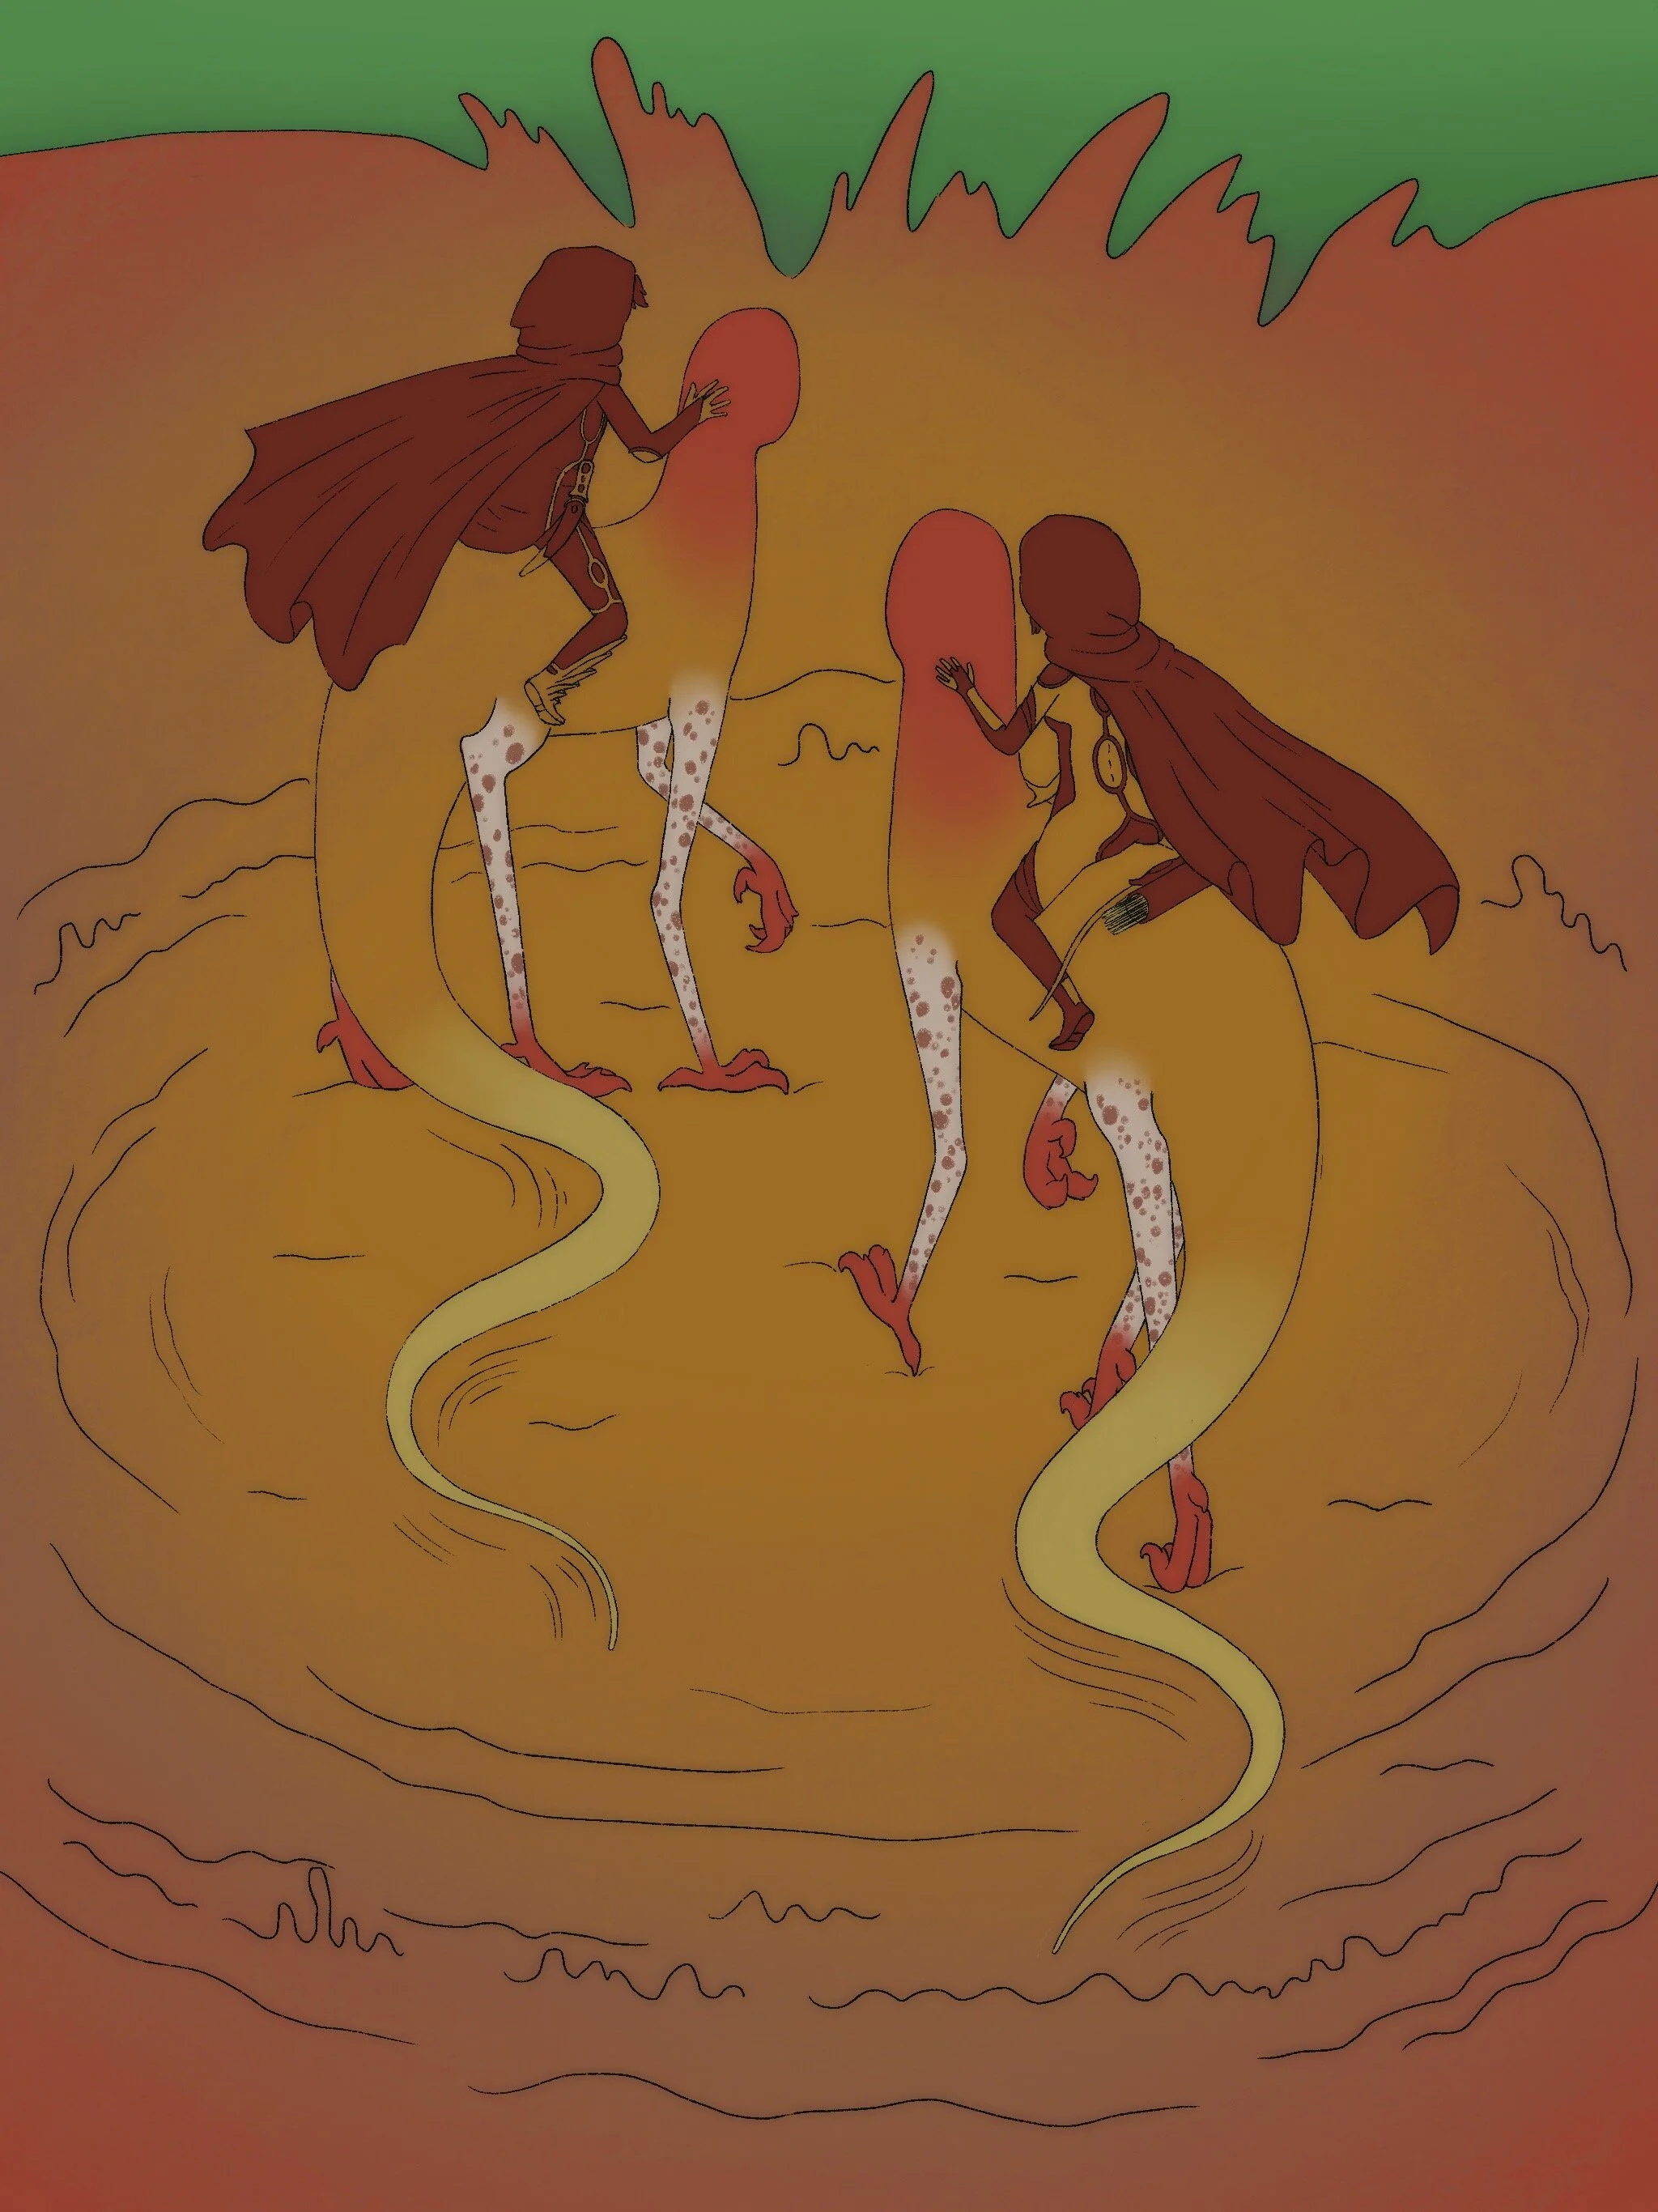
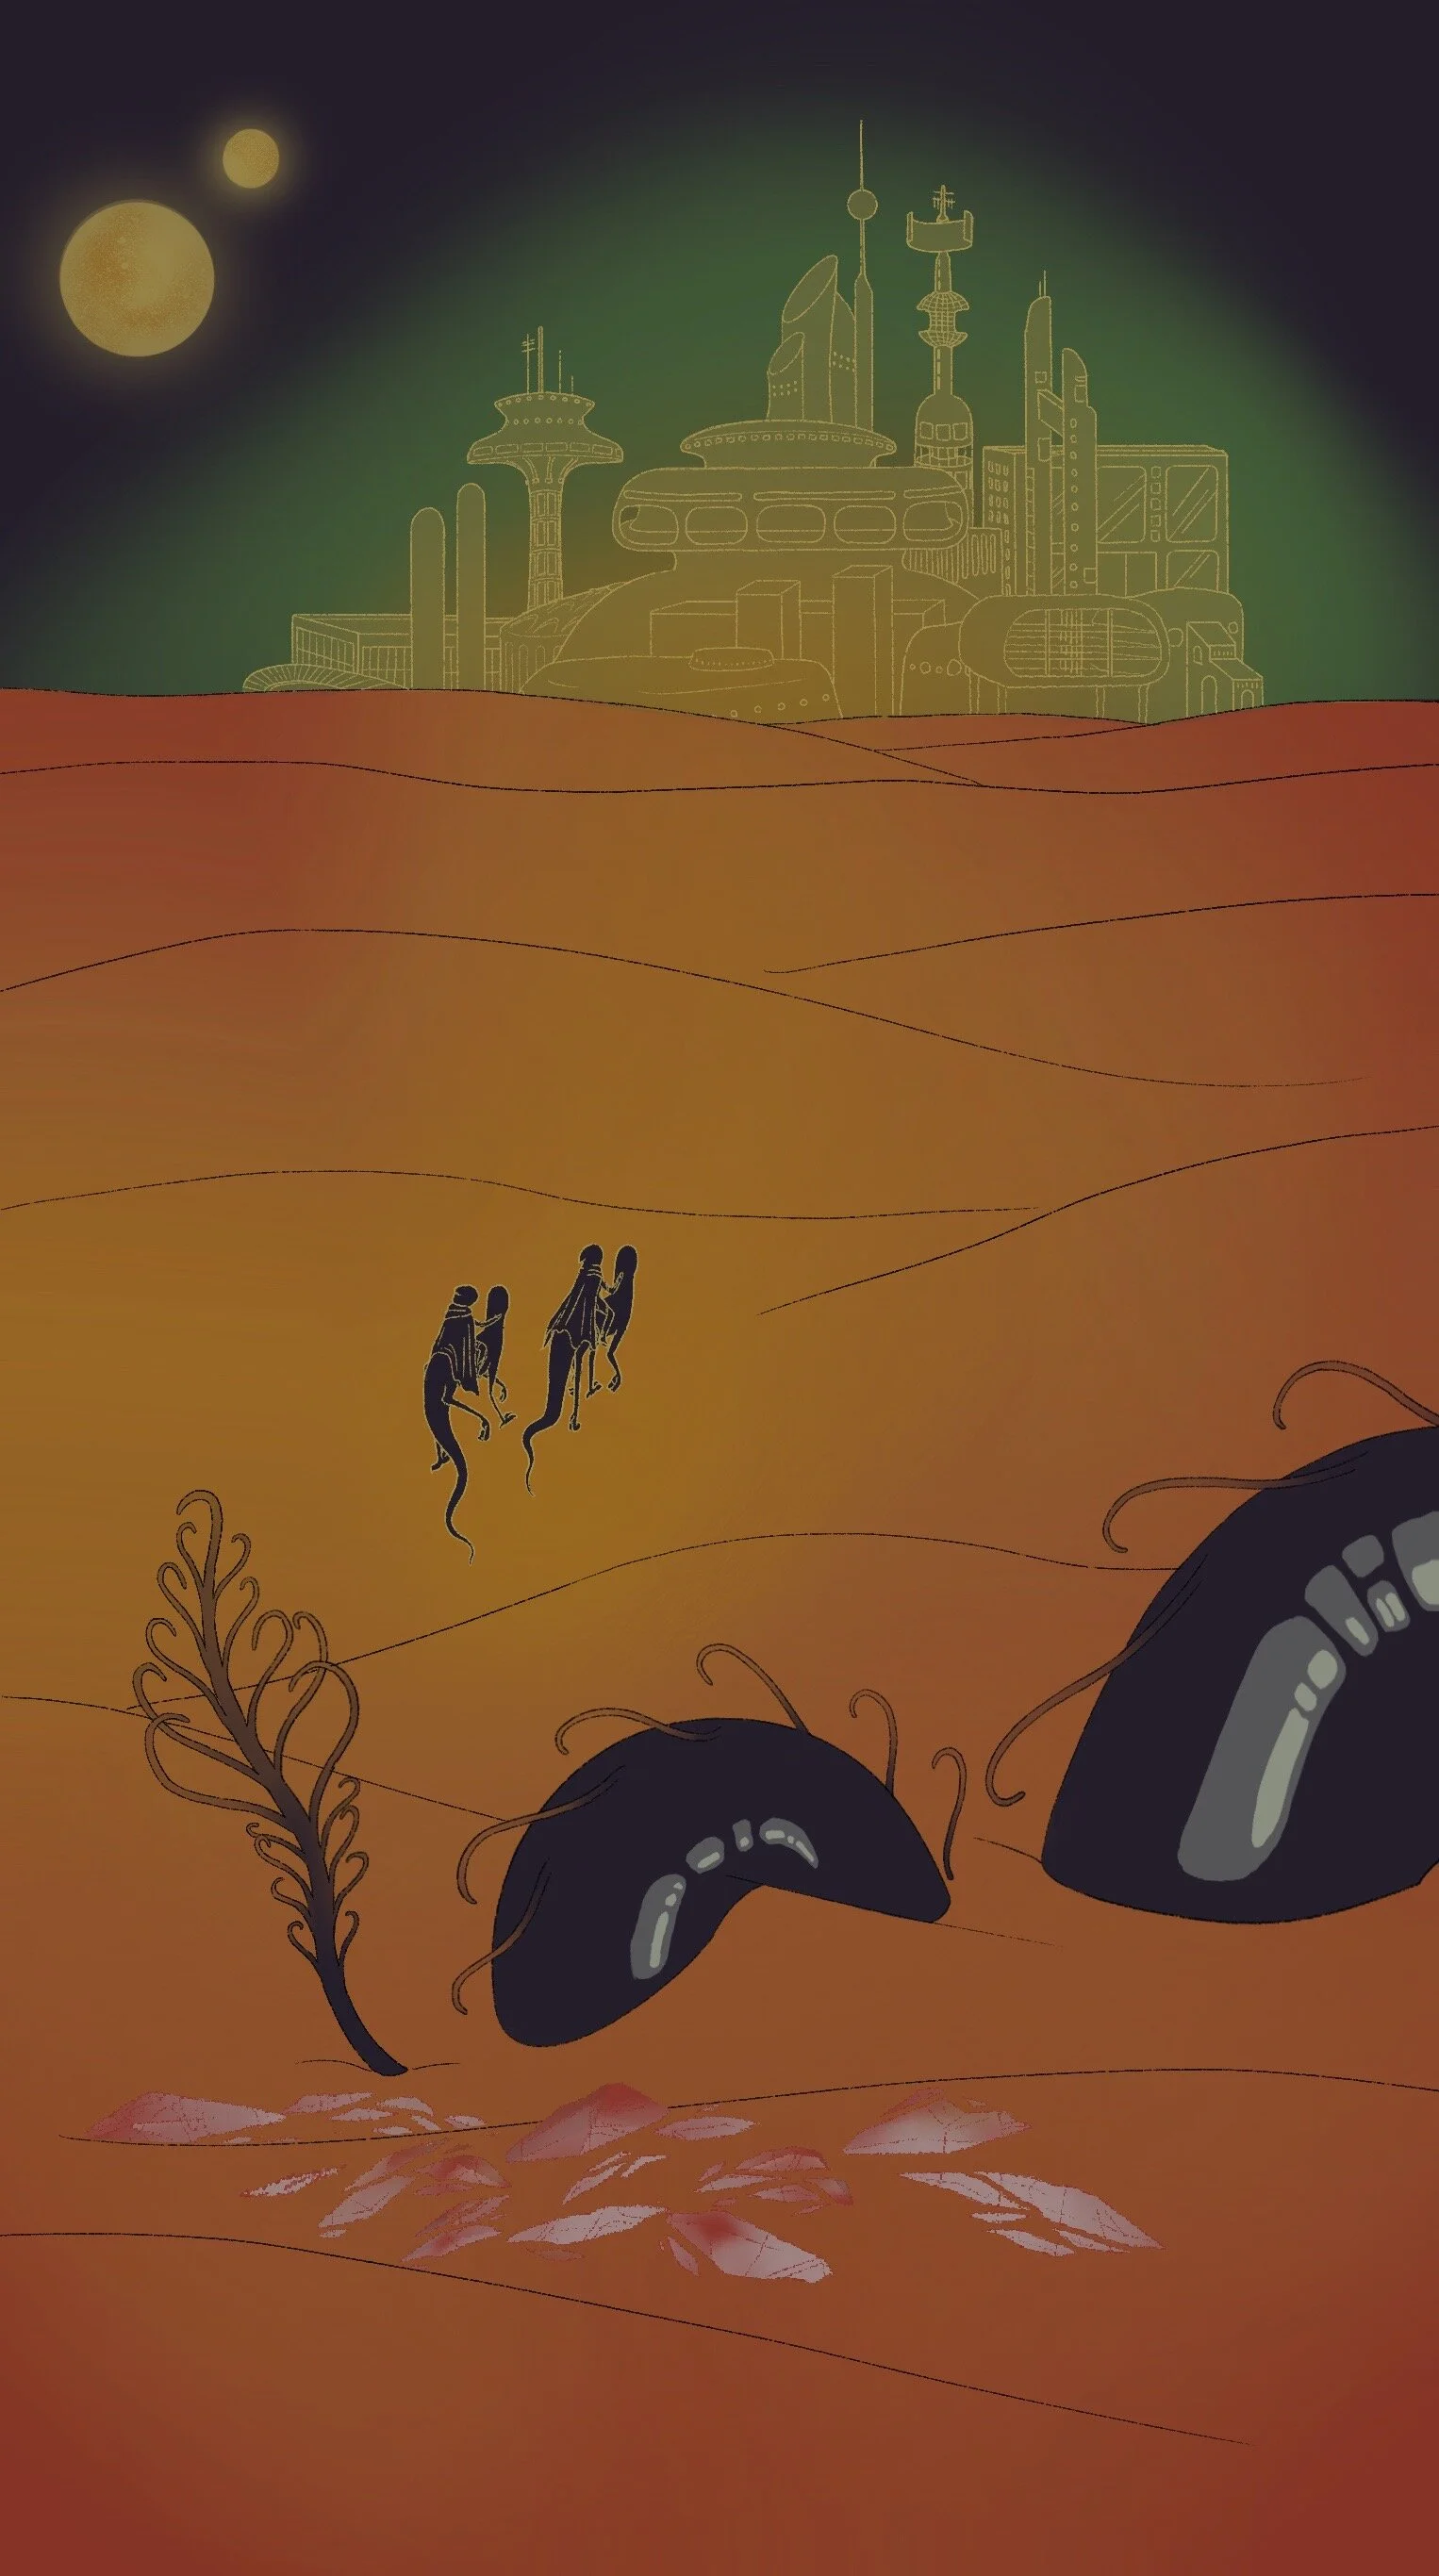
I wanted to model the mural after a drawing that I had given to my friend back in high school. He regrets having lost it over the years, and I don’t even remember drawing it, but he told me that it depicted two people riding strange creatures and that it reminded him of Muhammad’s Night Journey.

Muhammad’s Night Journey.
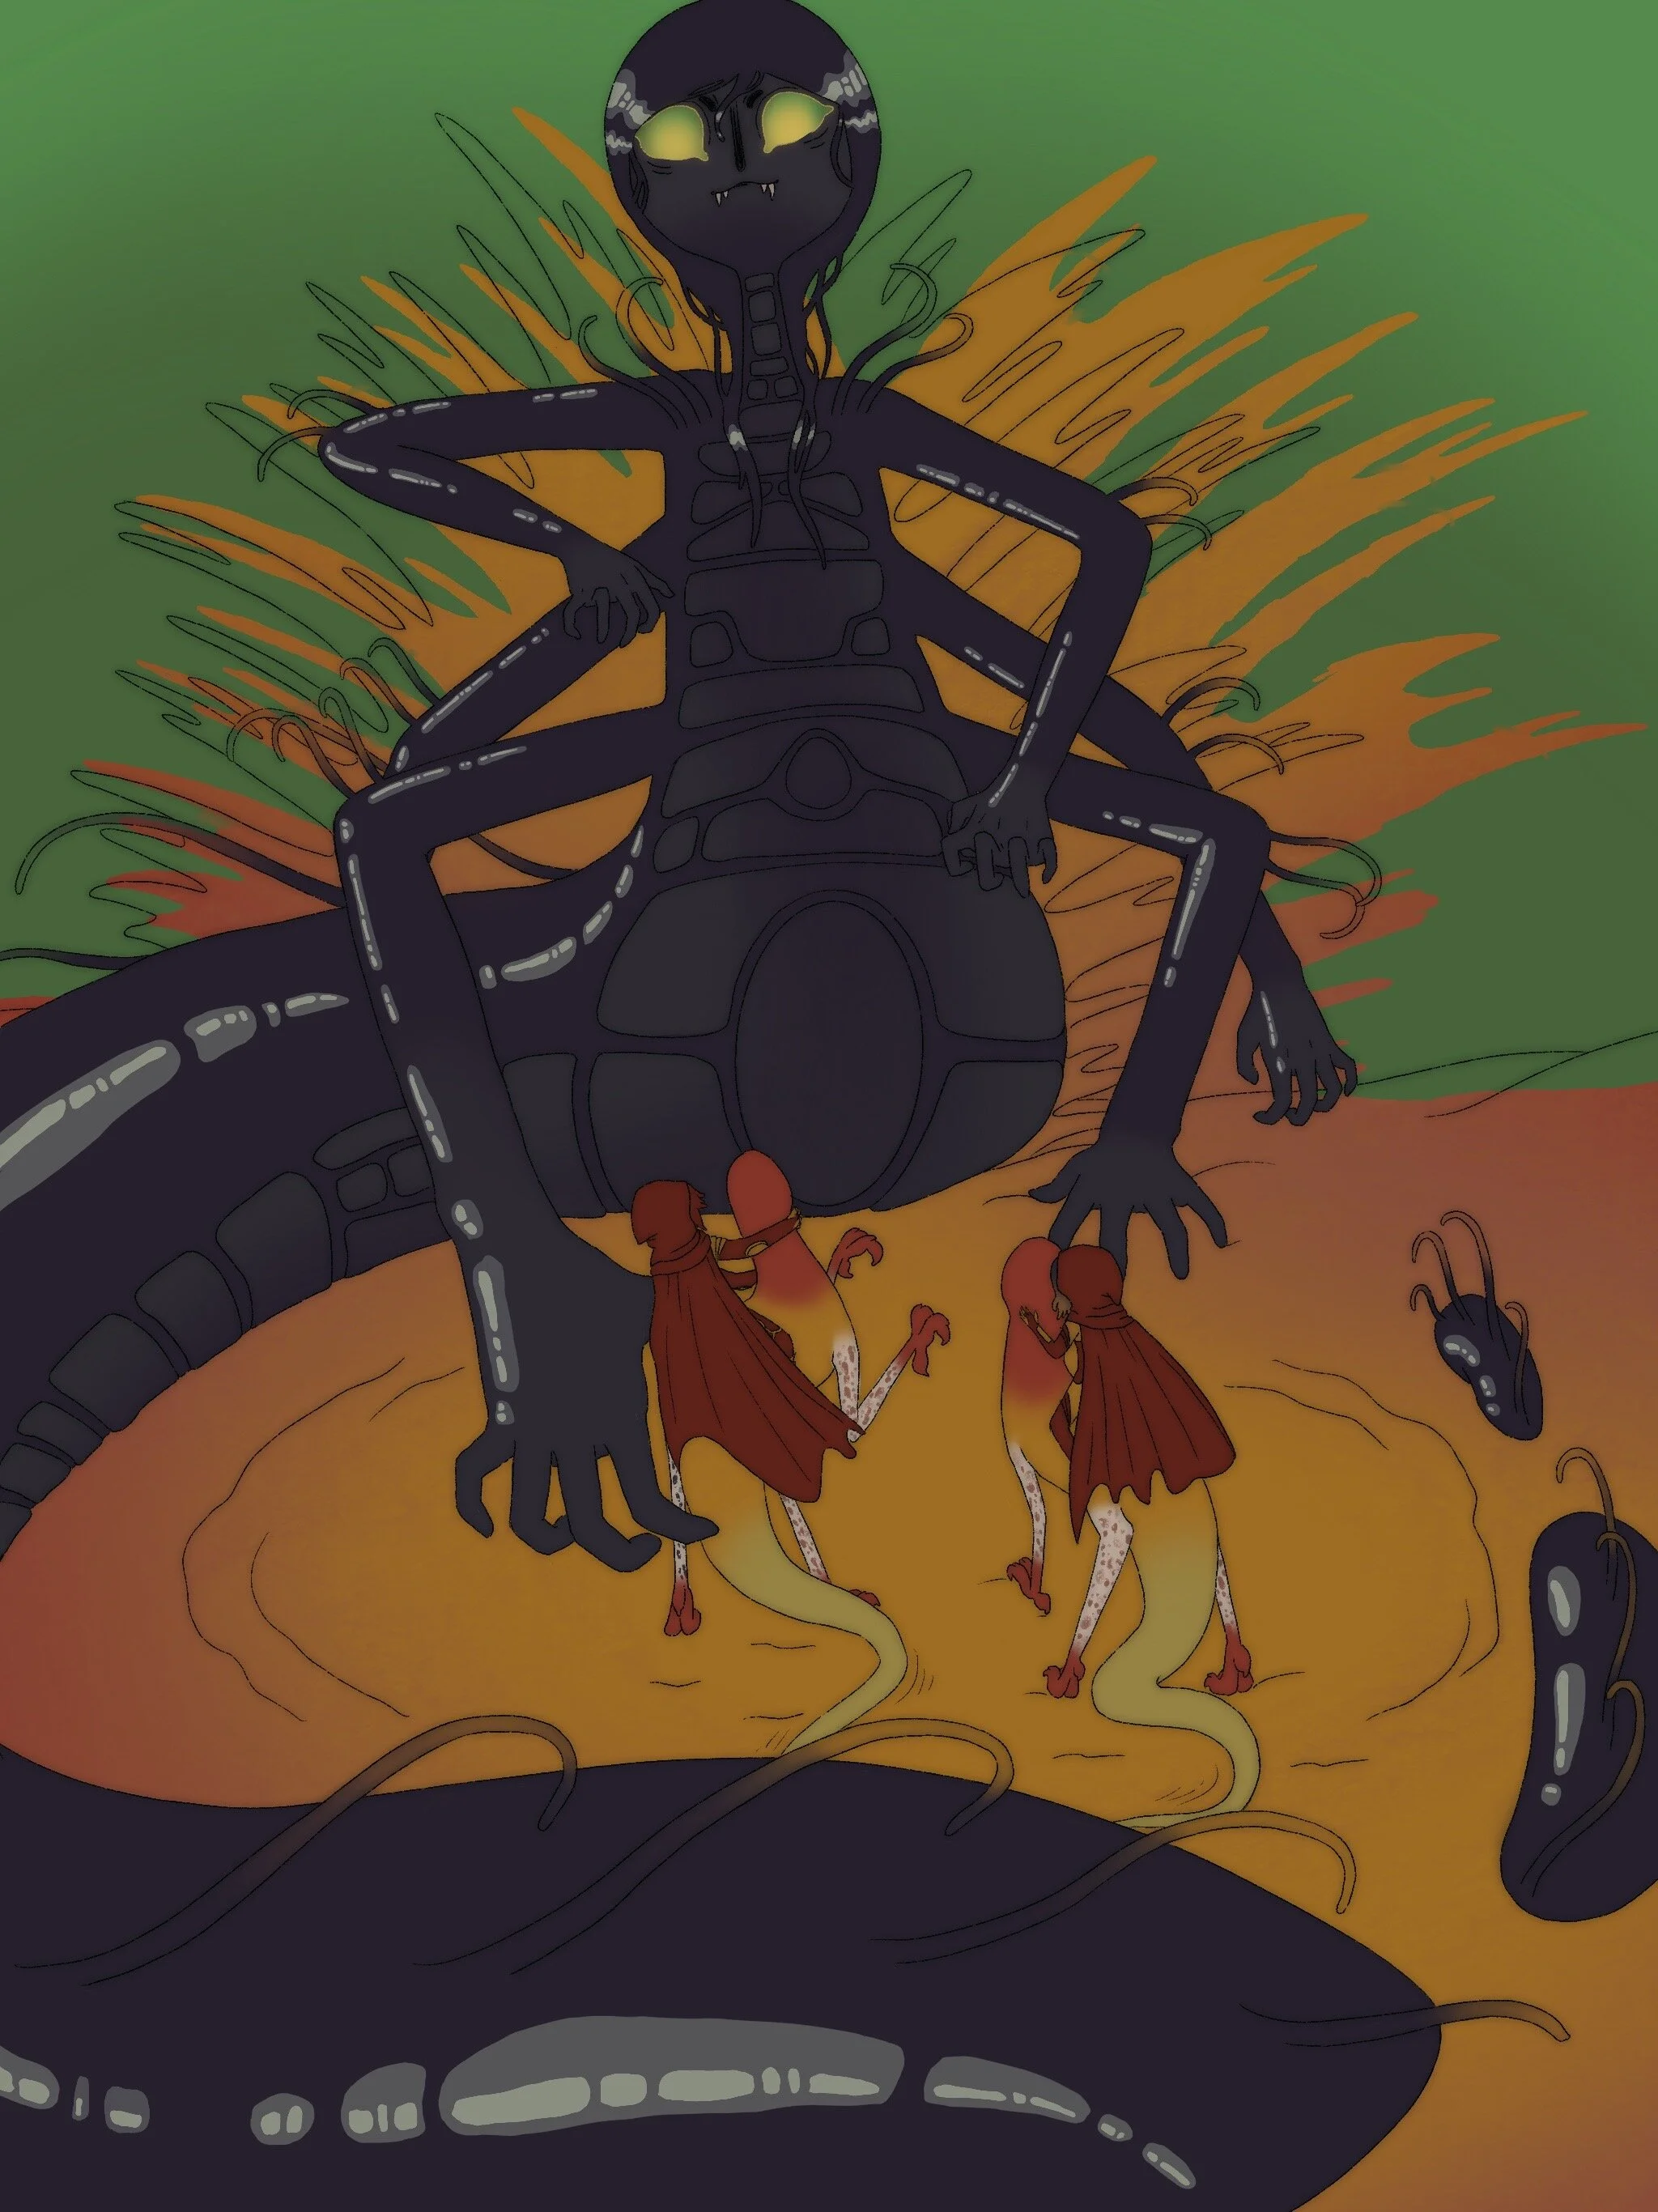
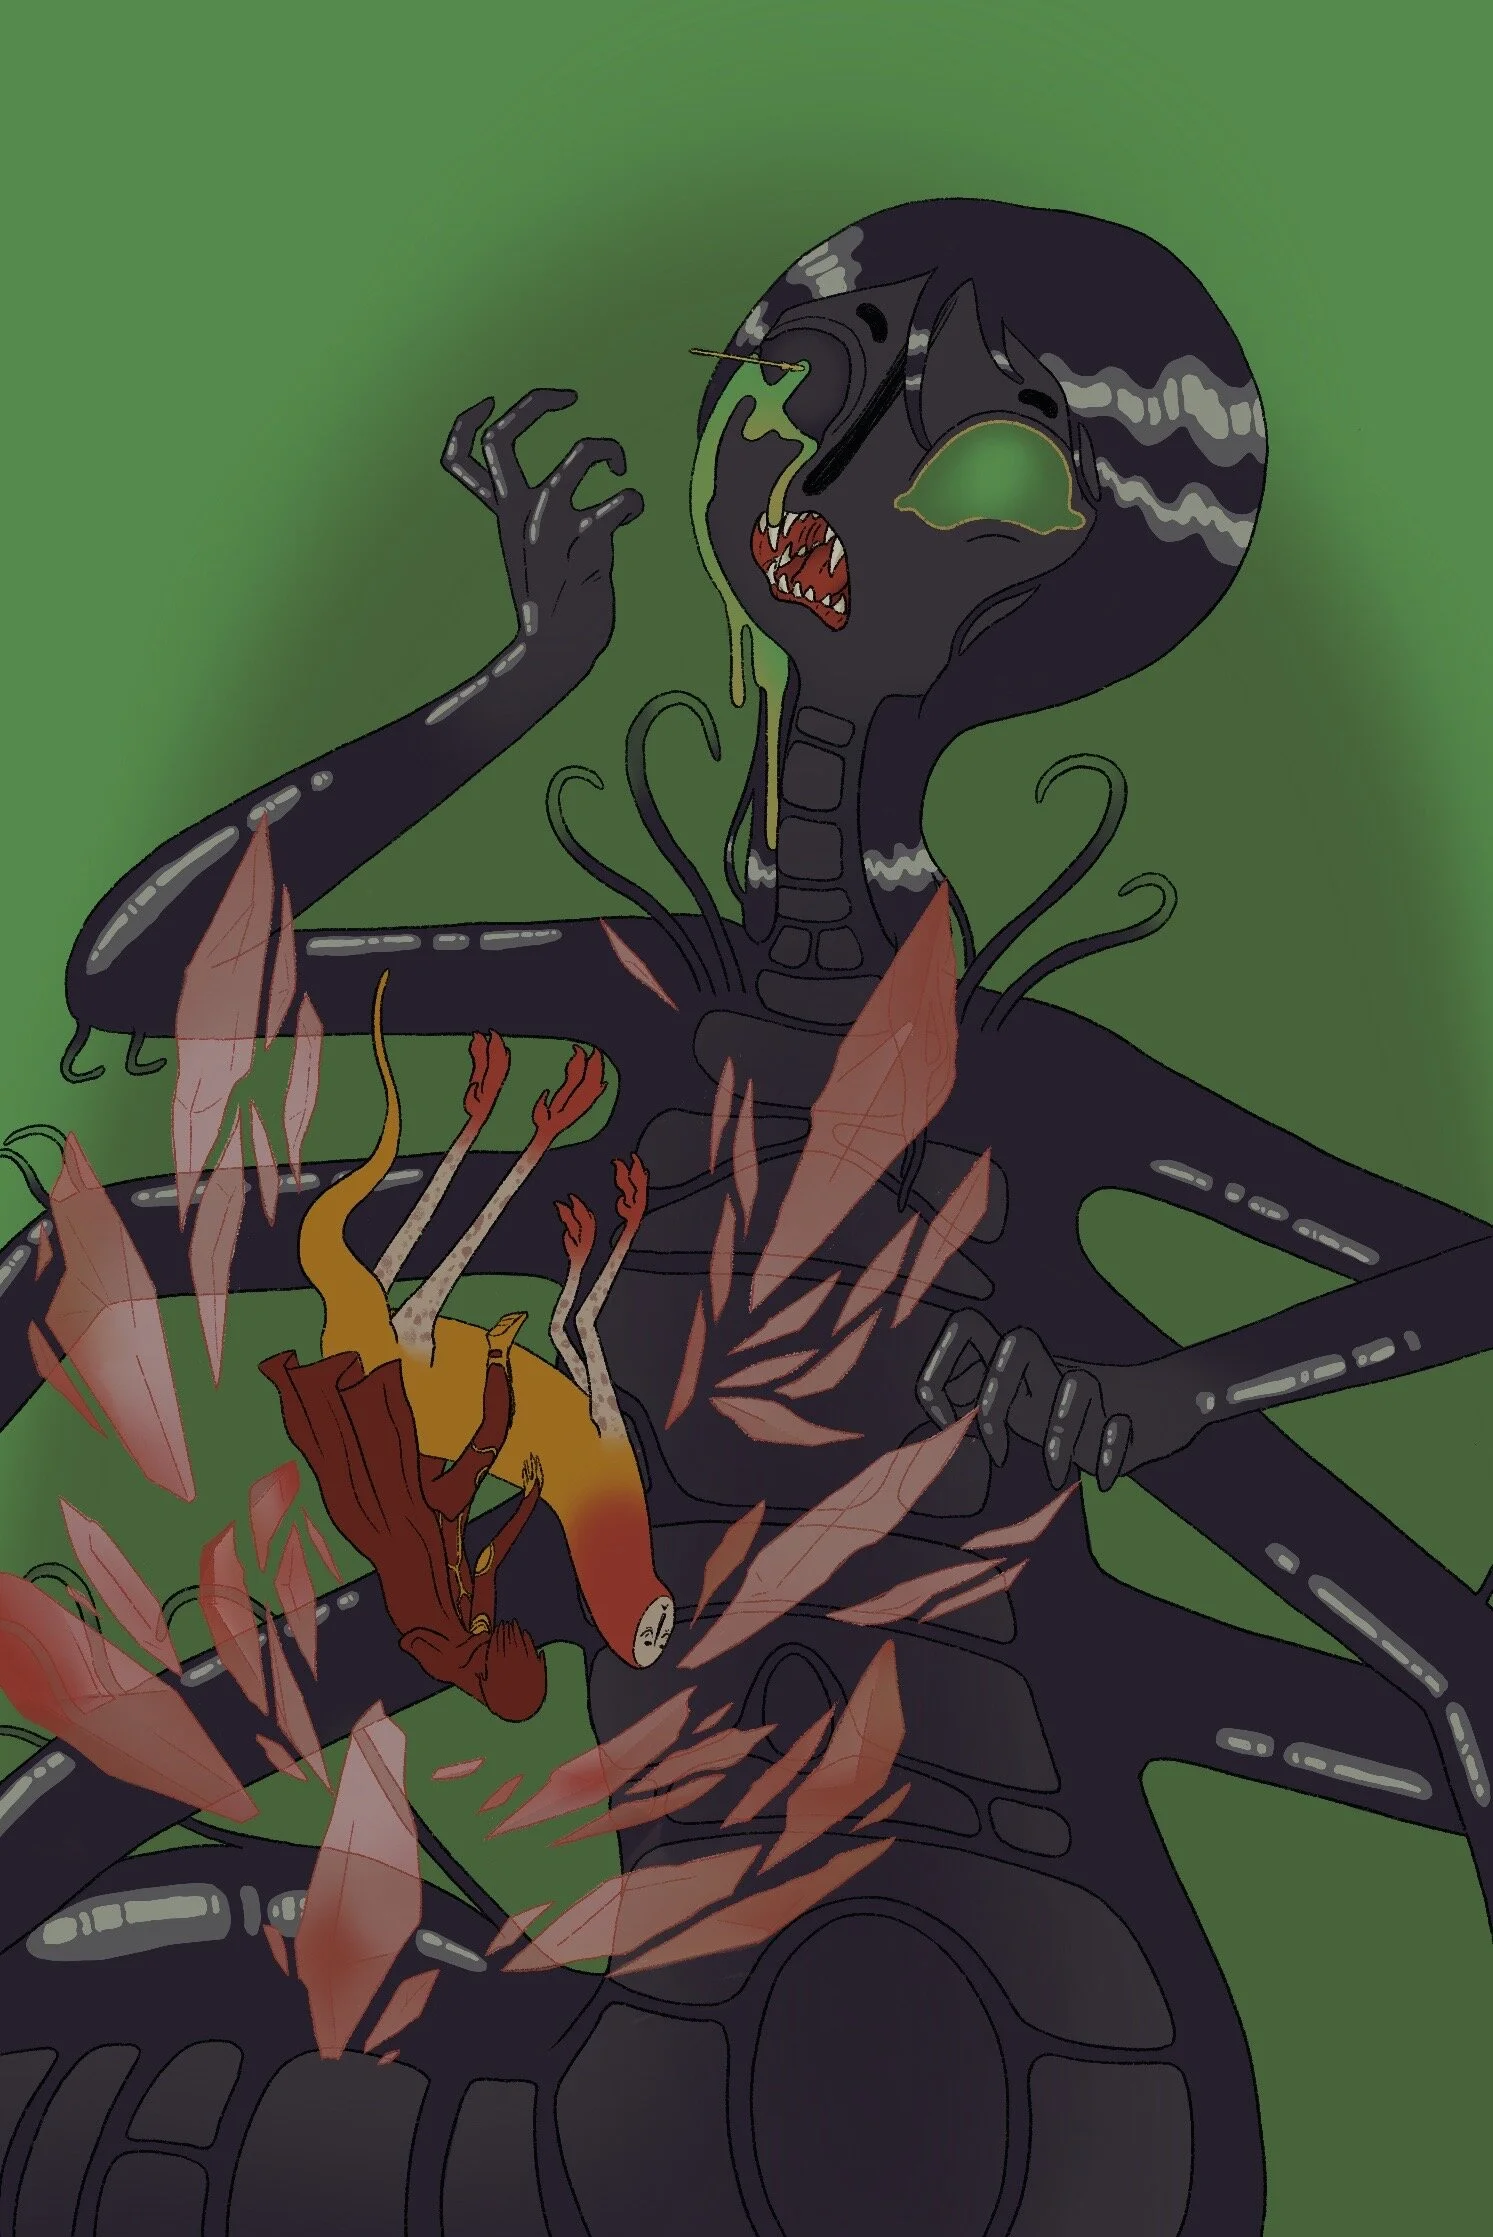
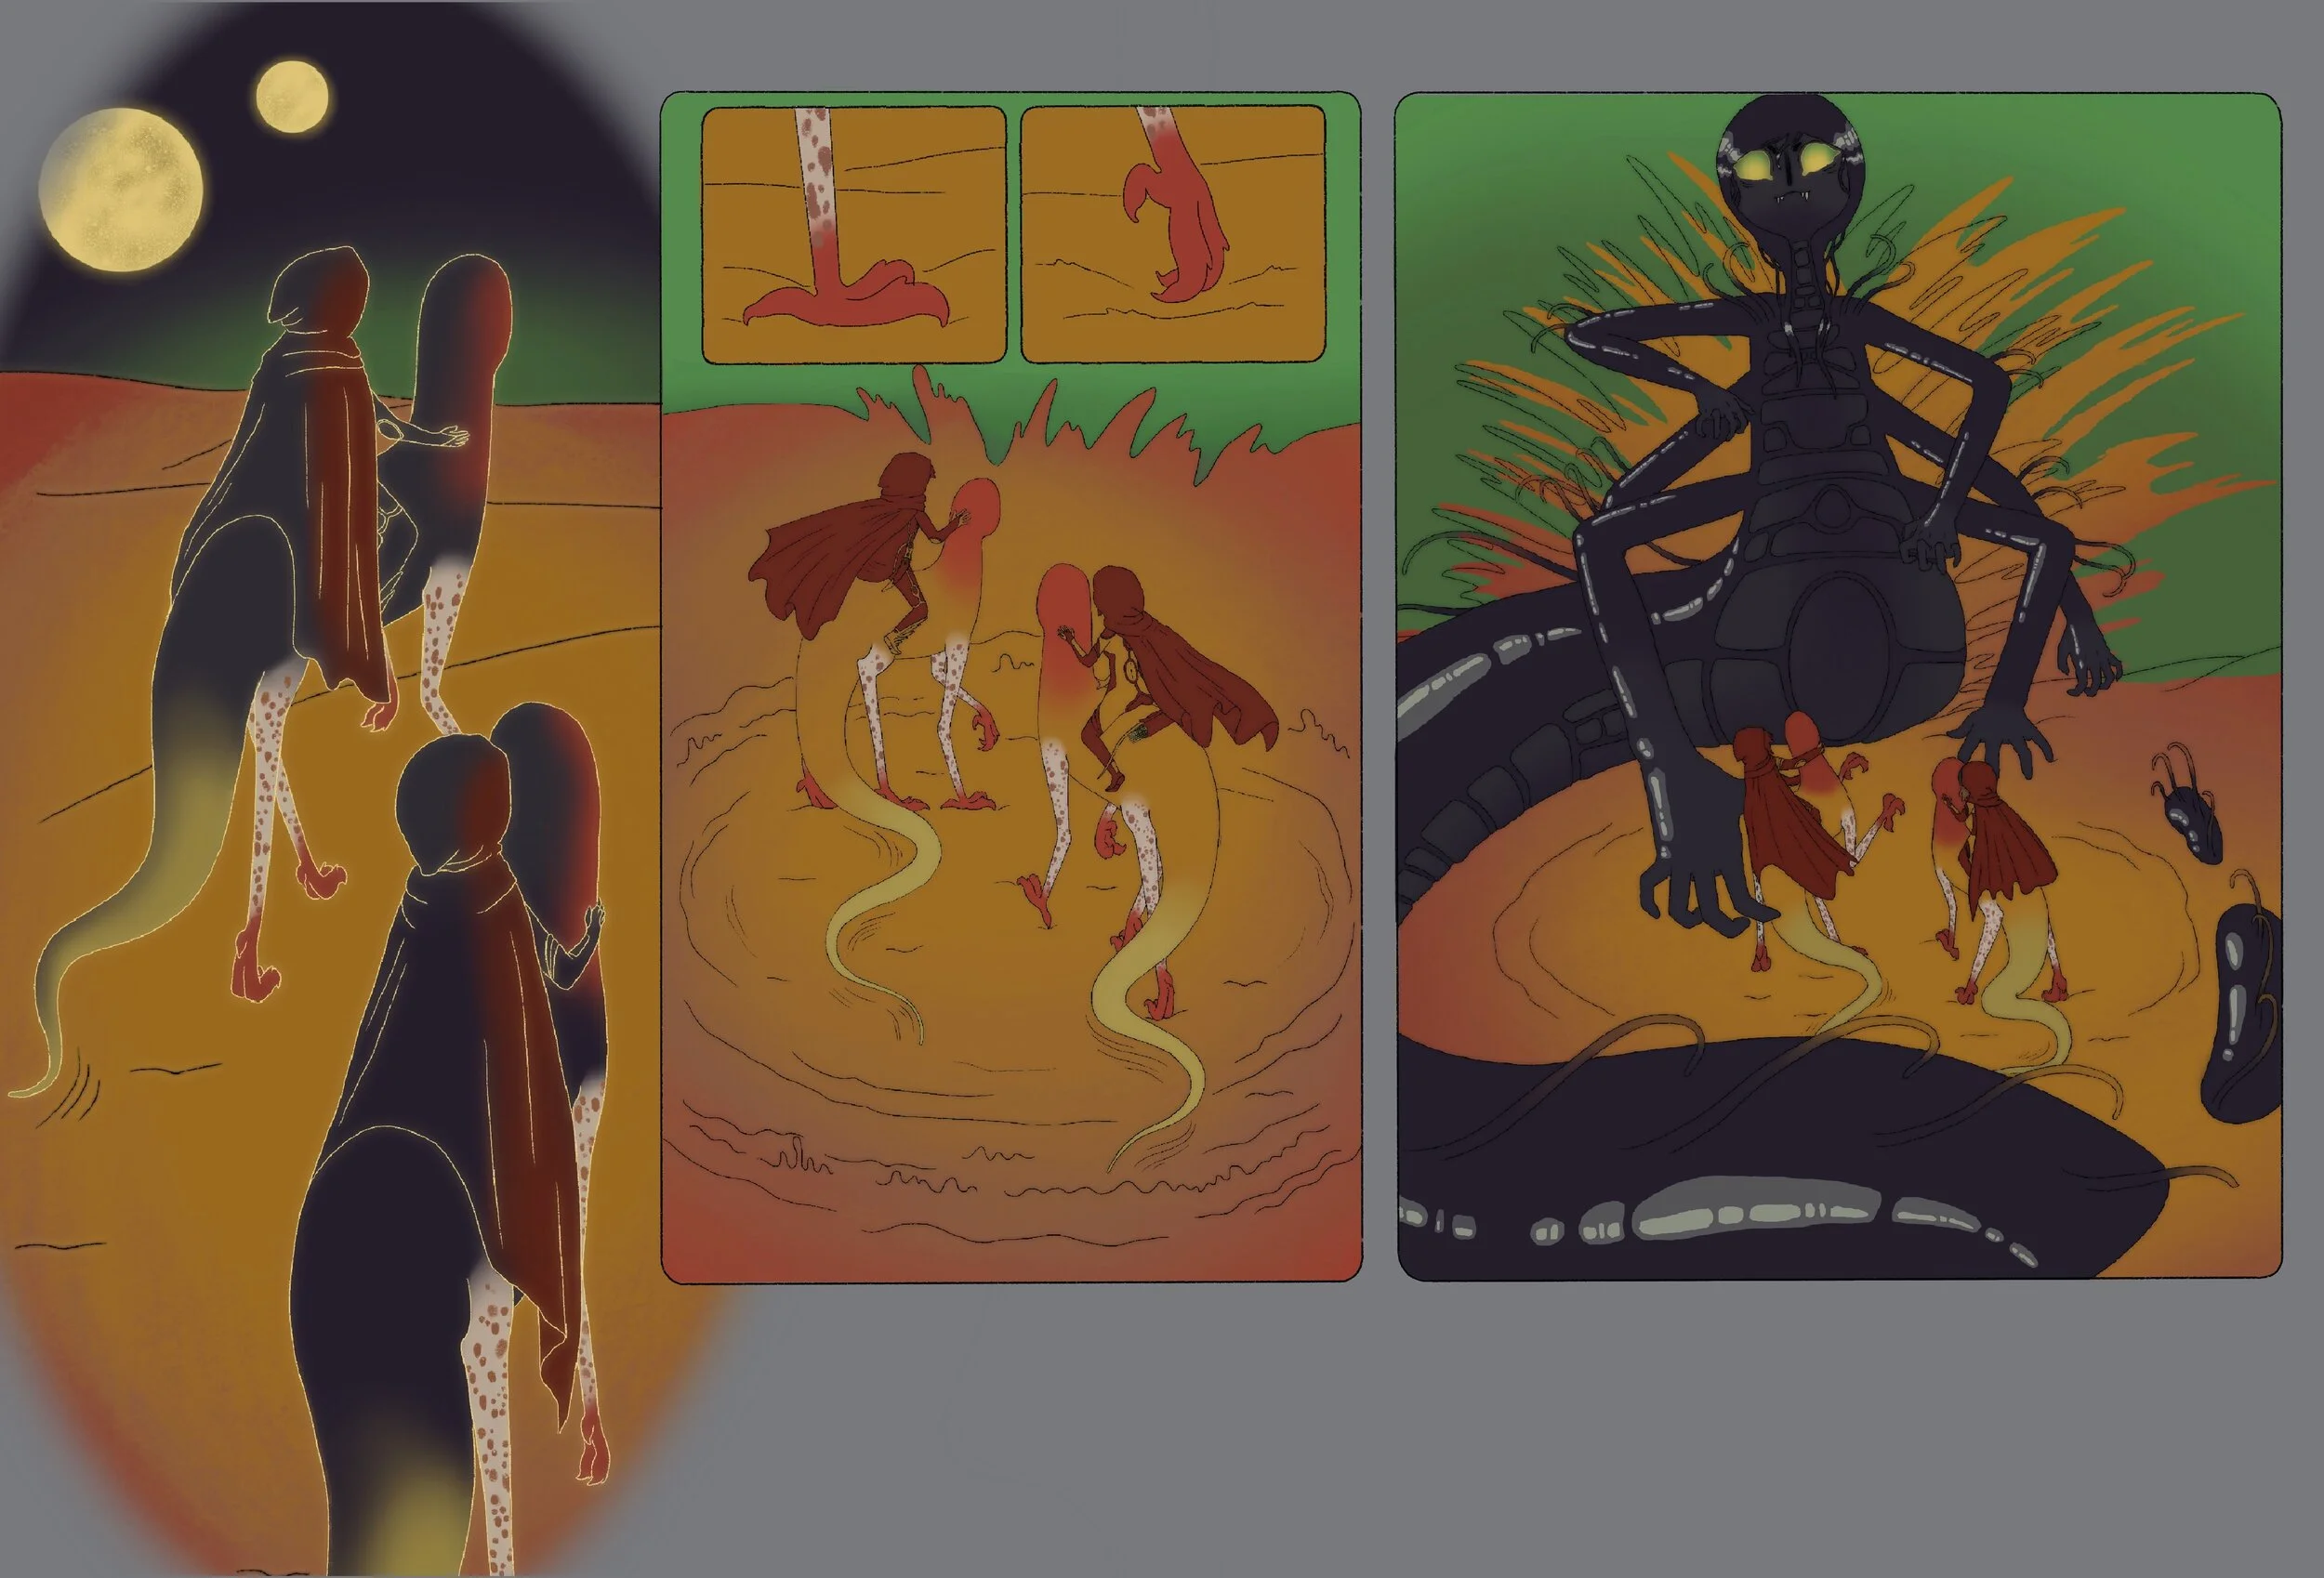
The terrible Anderwurm emerges, unapologetically drawn to resemble his terrible ex-girlfriend.

This was the first drawing I made of the emergence of the Anderwurm.
I felt like it was too static and lacked any sense of urgency, so I redrew it from a more dynamic angle.
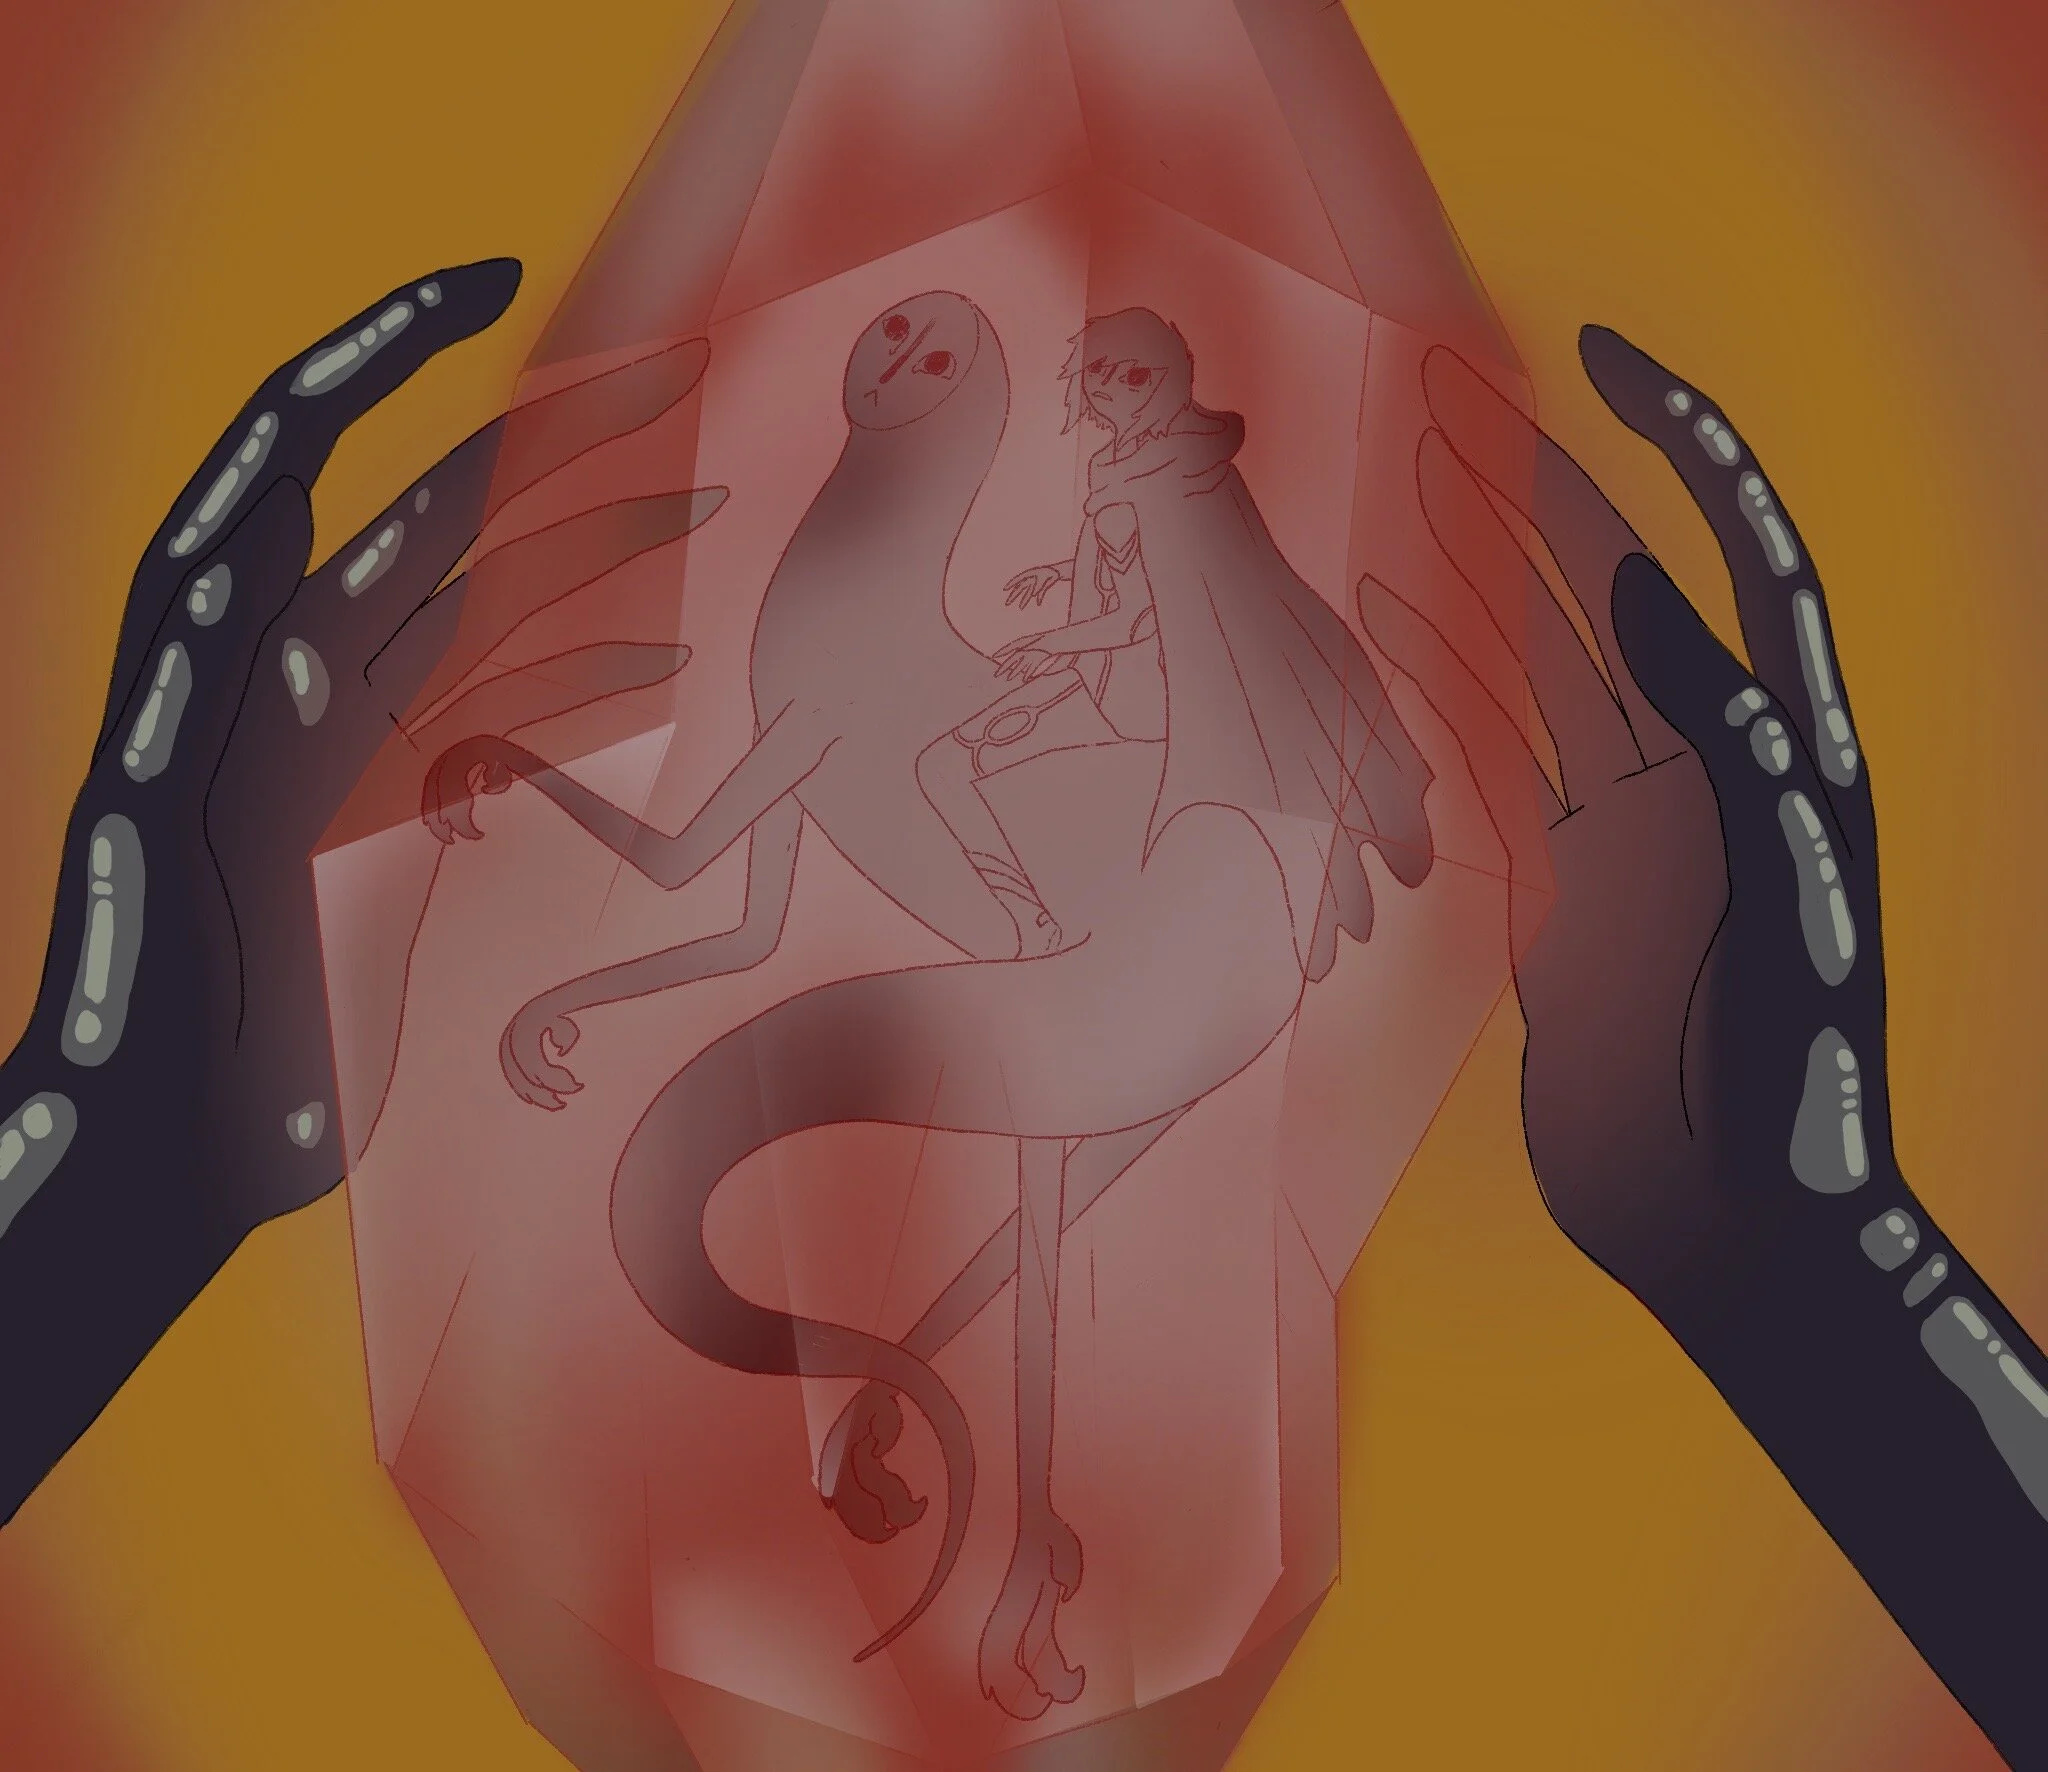
The crystal prison was a nod to Princess Zelda’s imprisonment at the end of Ocarina of Time, and also a metaphor for a very real prison that my friend was held in for many years.
His savior’s cute haircut and great tits bear striking resemblance to his current girlfriend.
This is by far my favorite scene. Hands and mouths are especially fun to draw in agony.
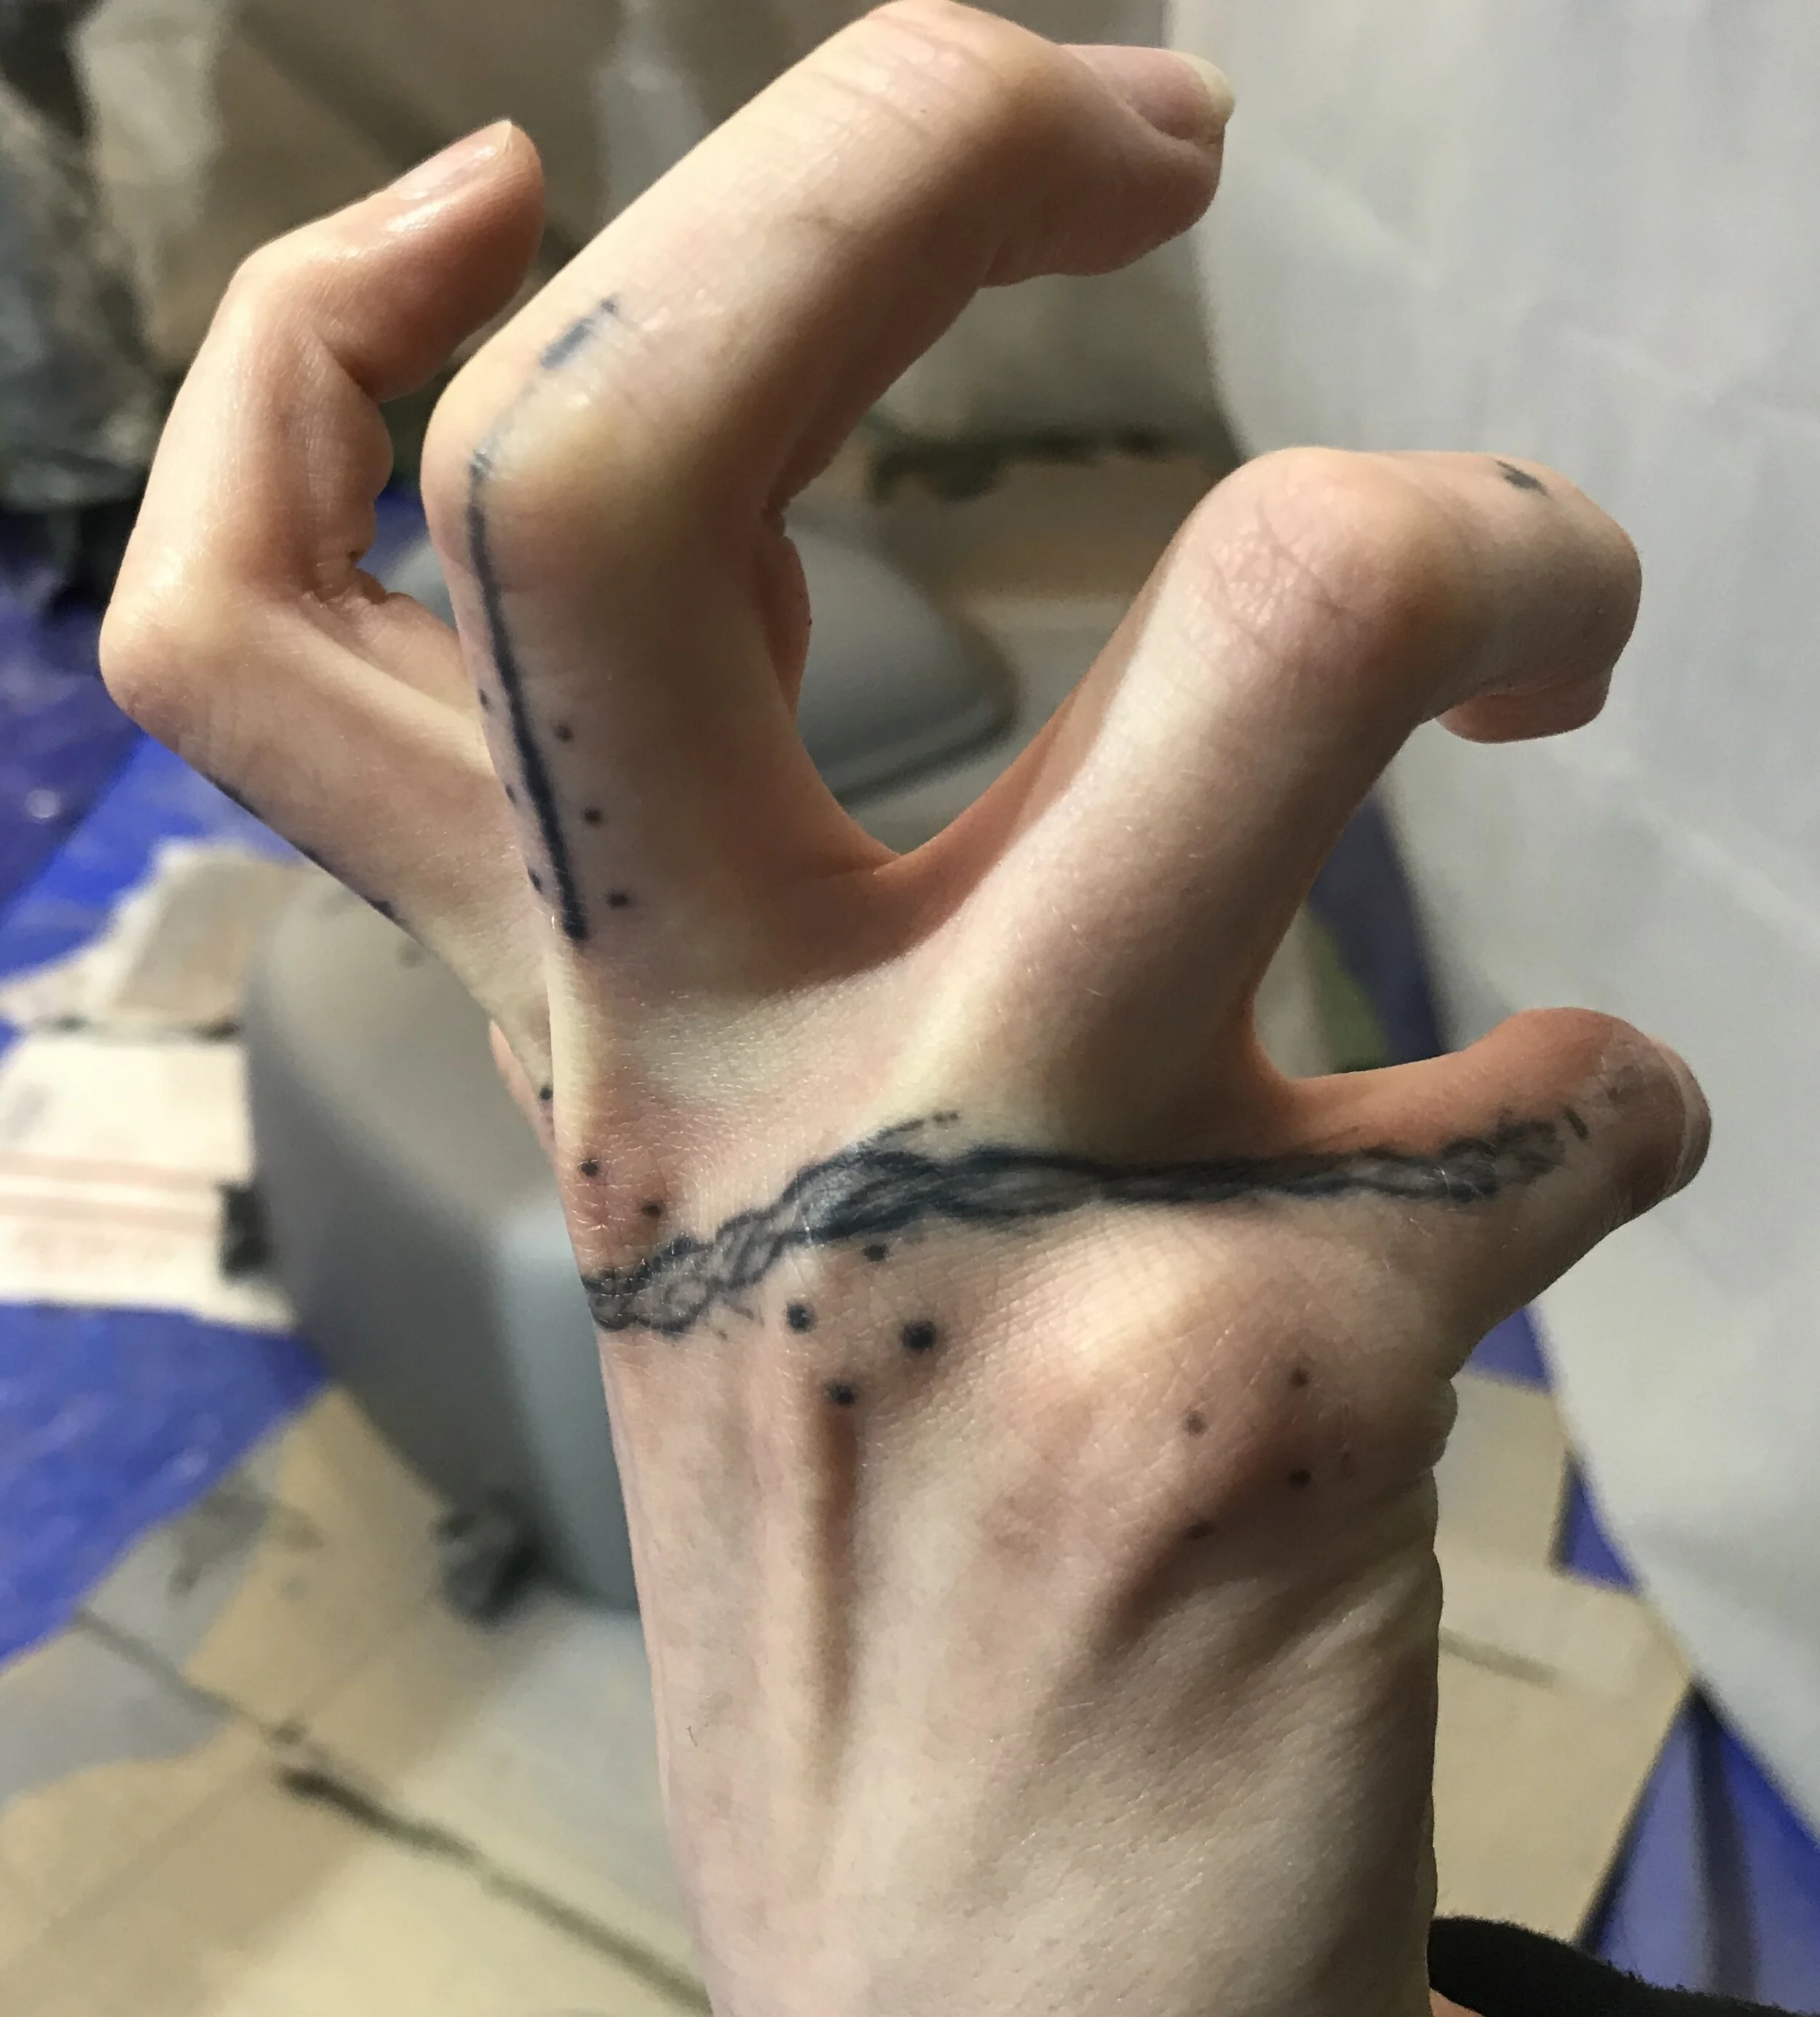
I had to take a reference photo of my hand to get this one right.
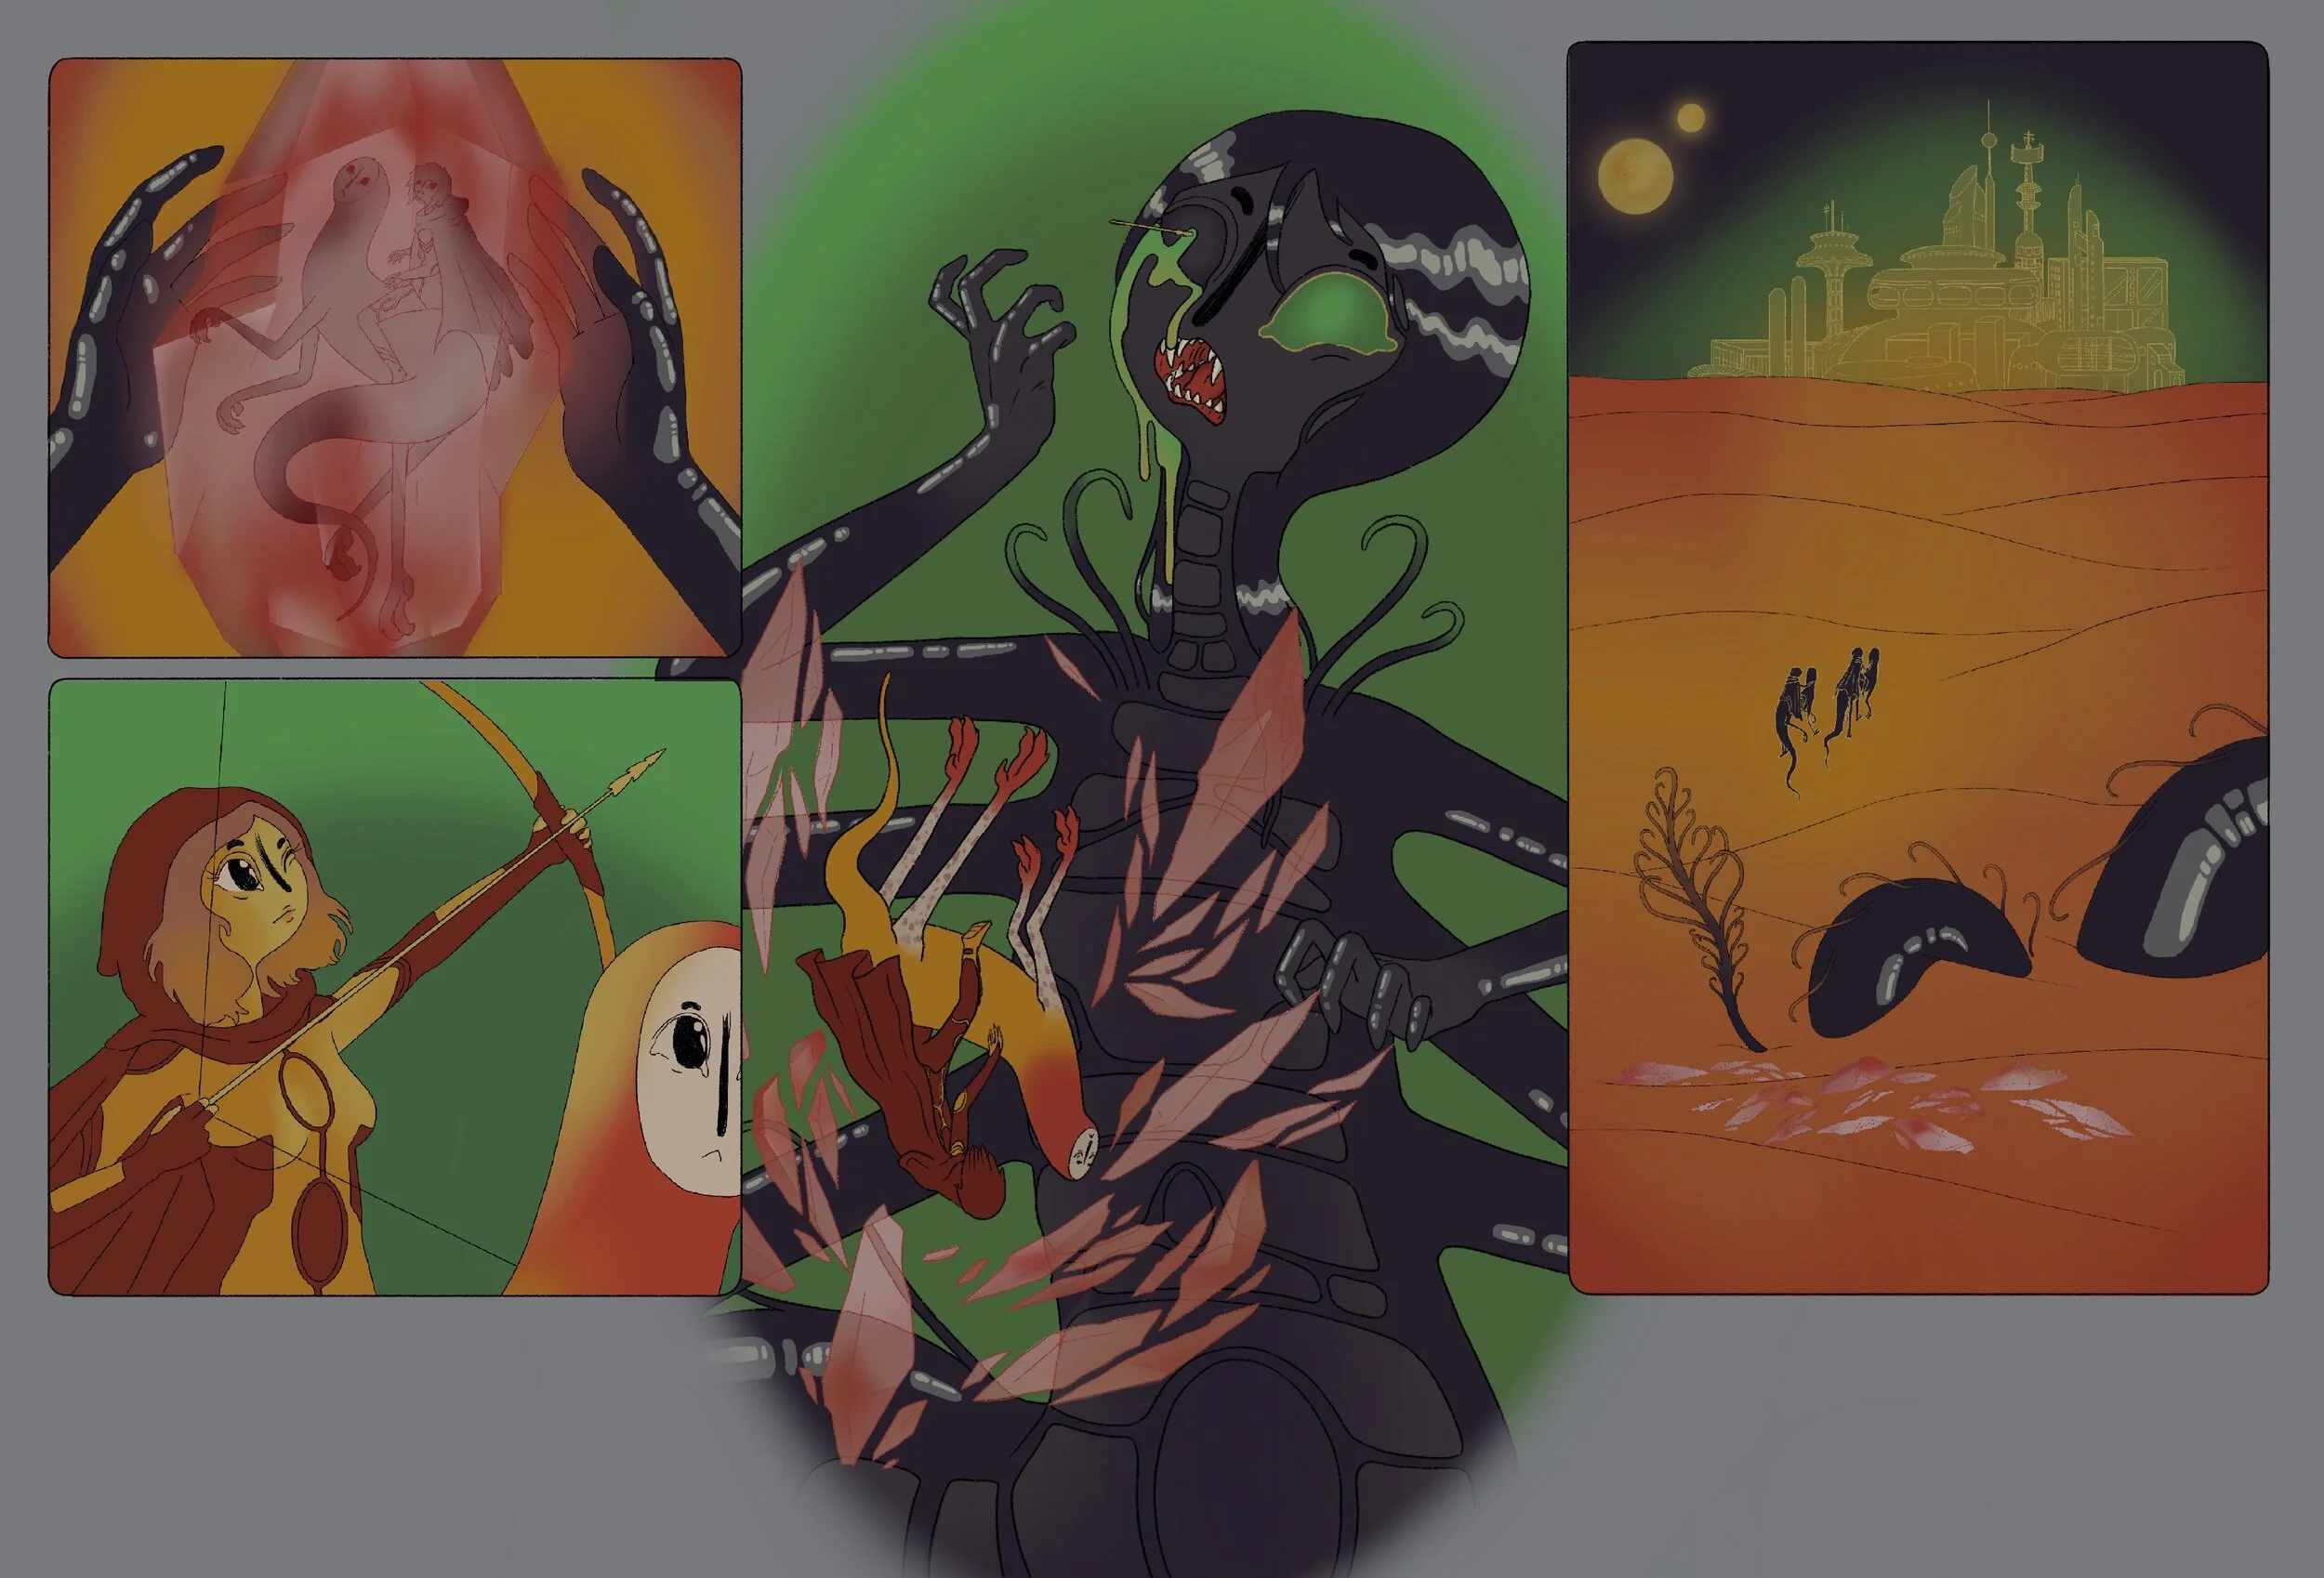
I arranged the drawings into panels to make a comic that fit the dimensions of the two walls I would be painting.


I transferred the images onto the wall using the grid method. This involves overlaying a grid onto each drawing, then making the same grid on the wall and copying each individual square one at a time. This method ensures that all of the proportions stay accurate.

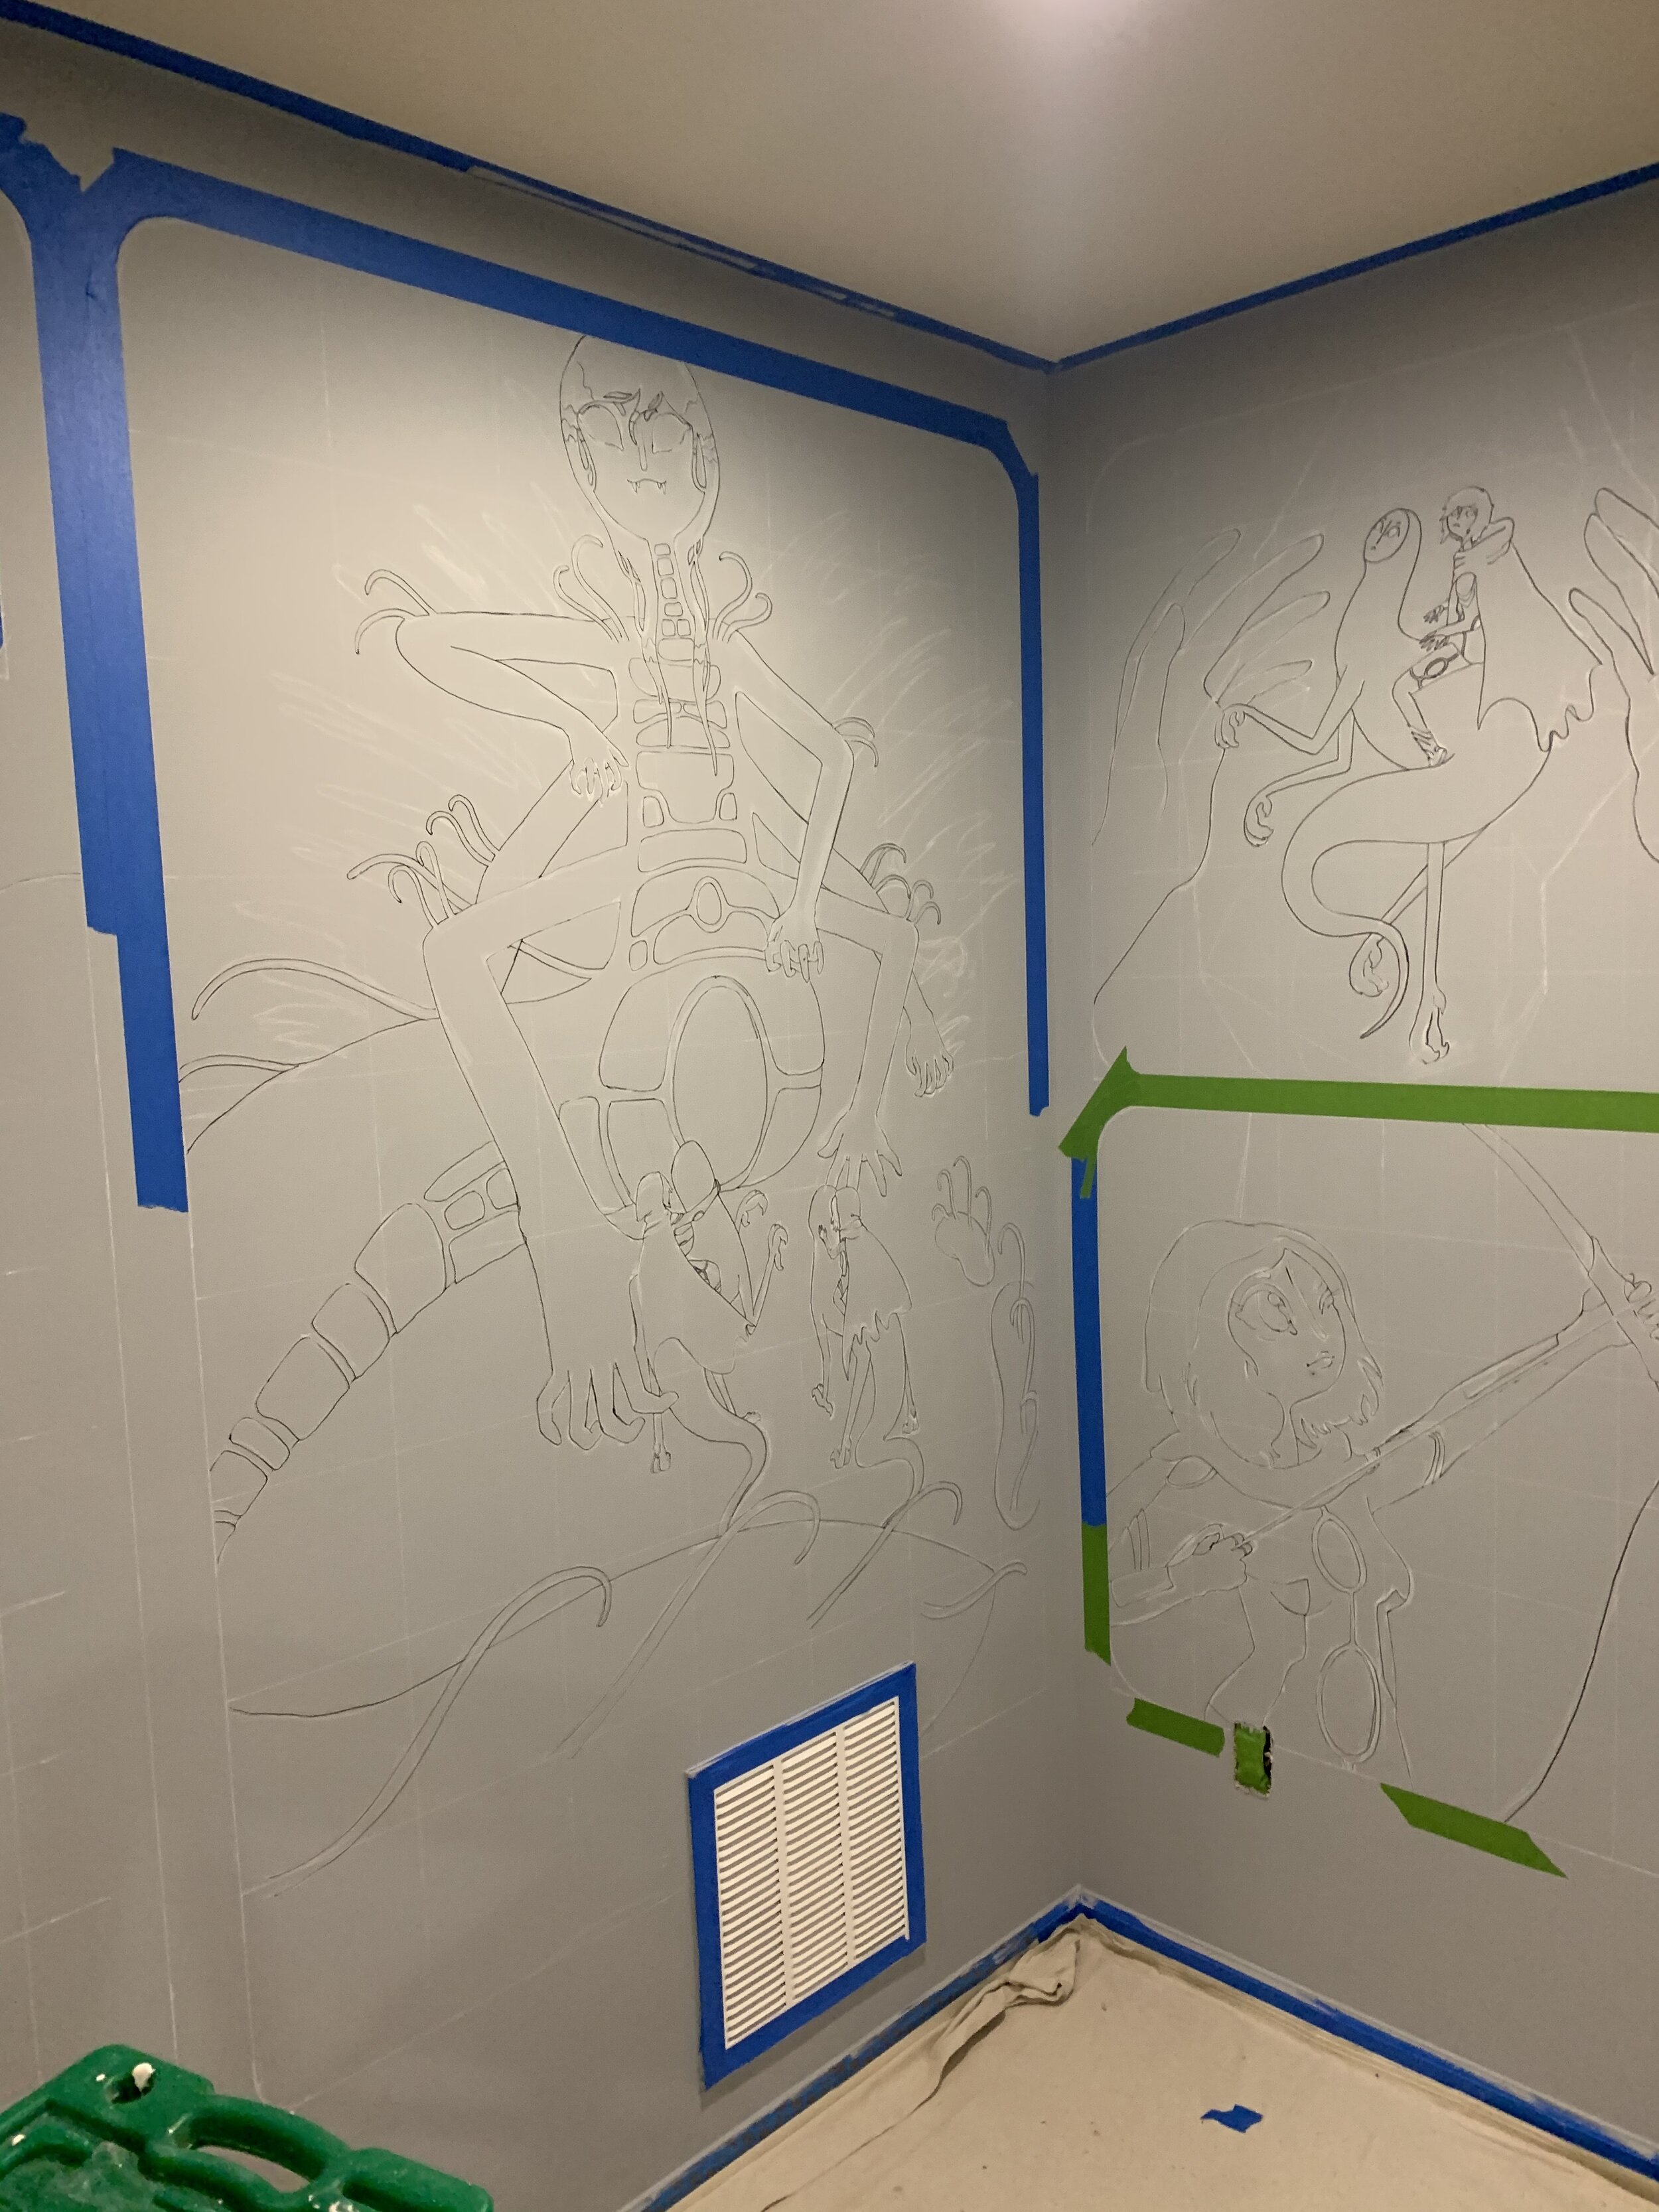


I used a black marker to define the lines more clearly, did some strategic taping, and now it’s ready for paint.
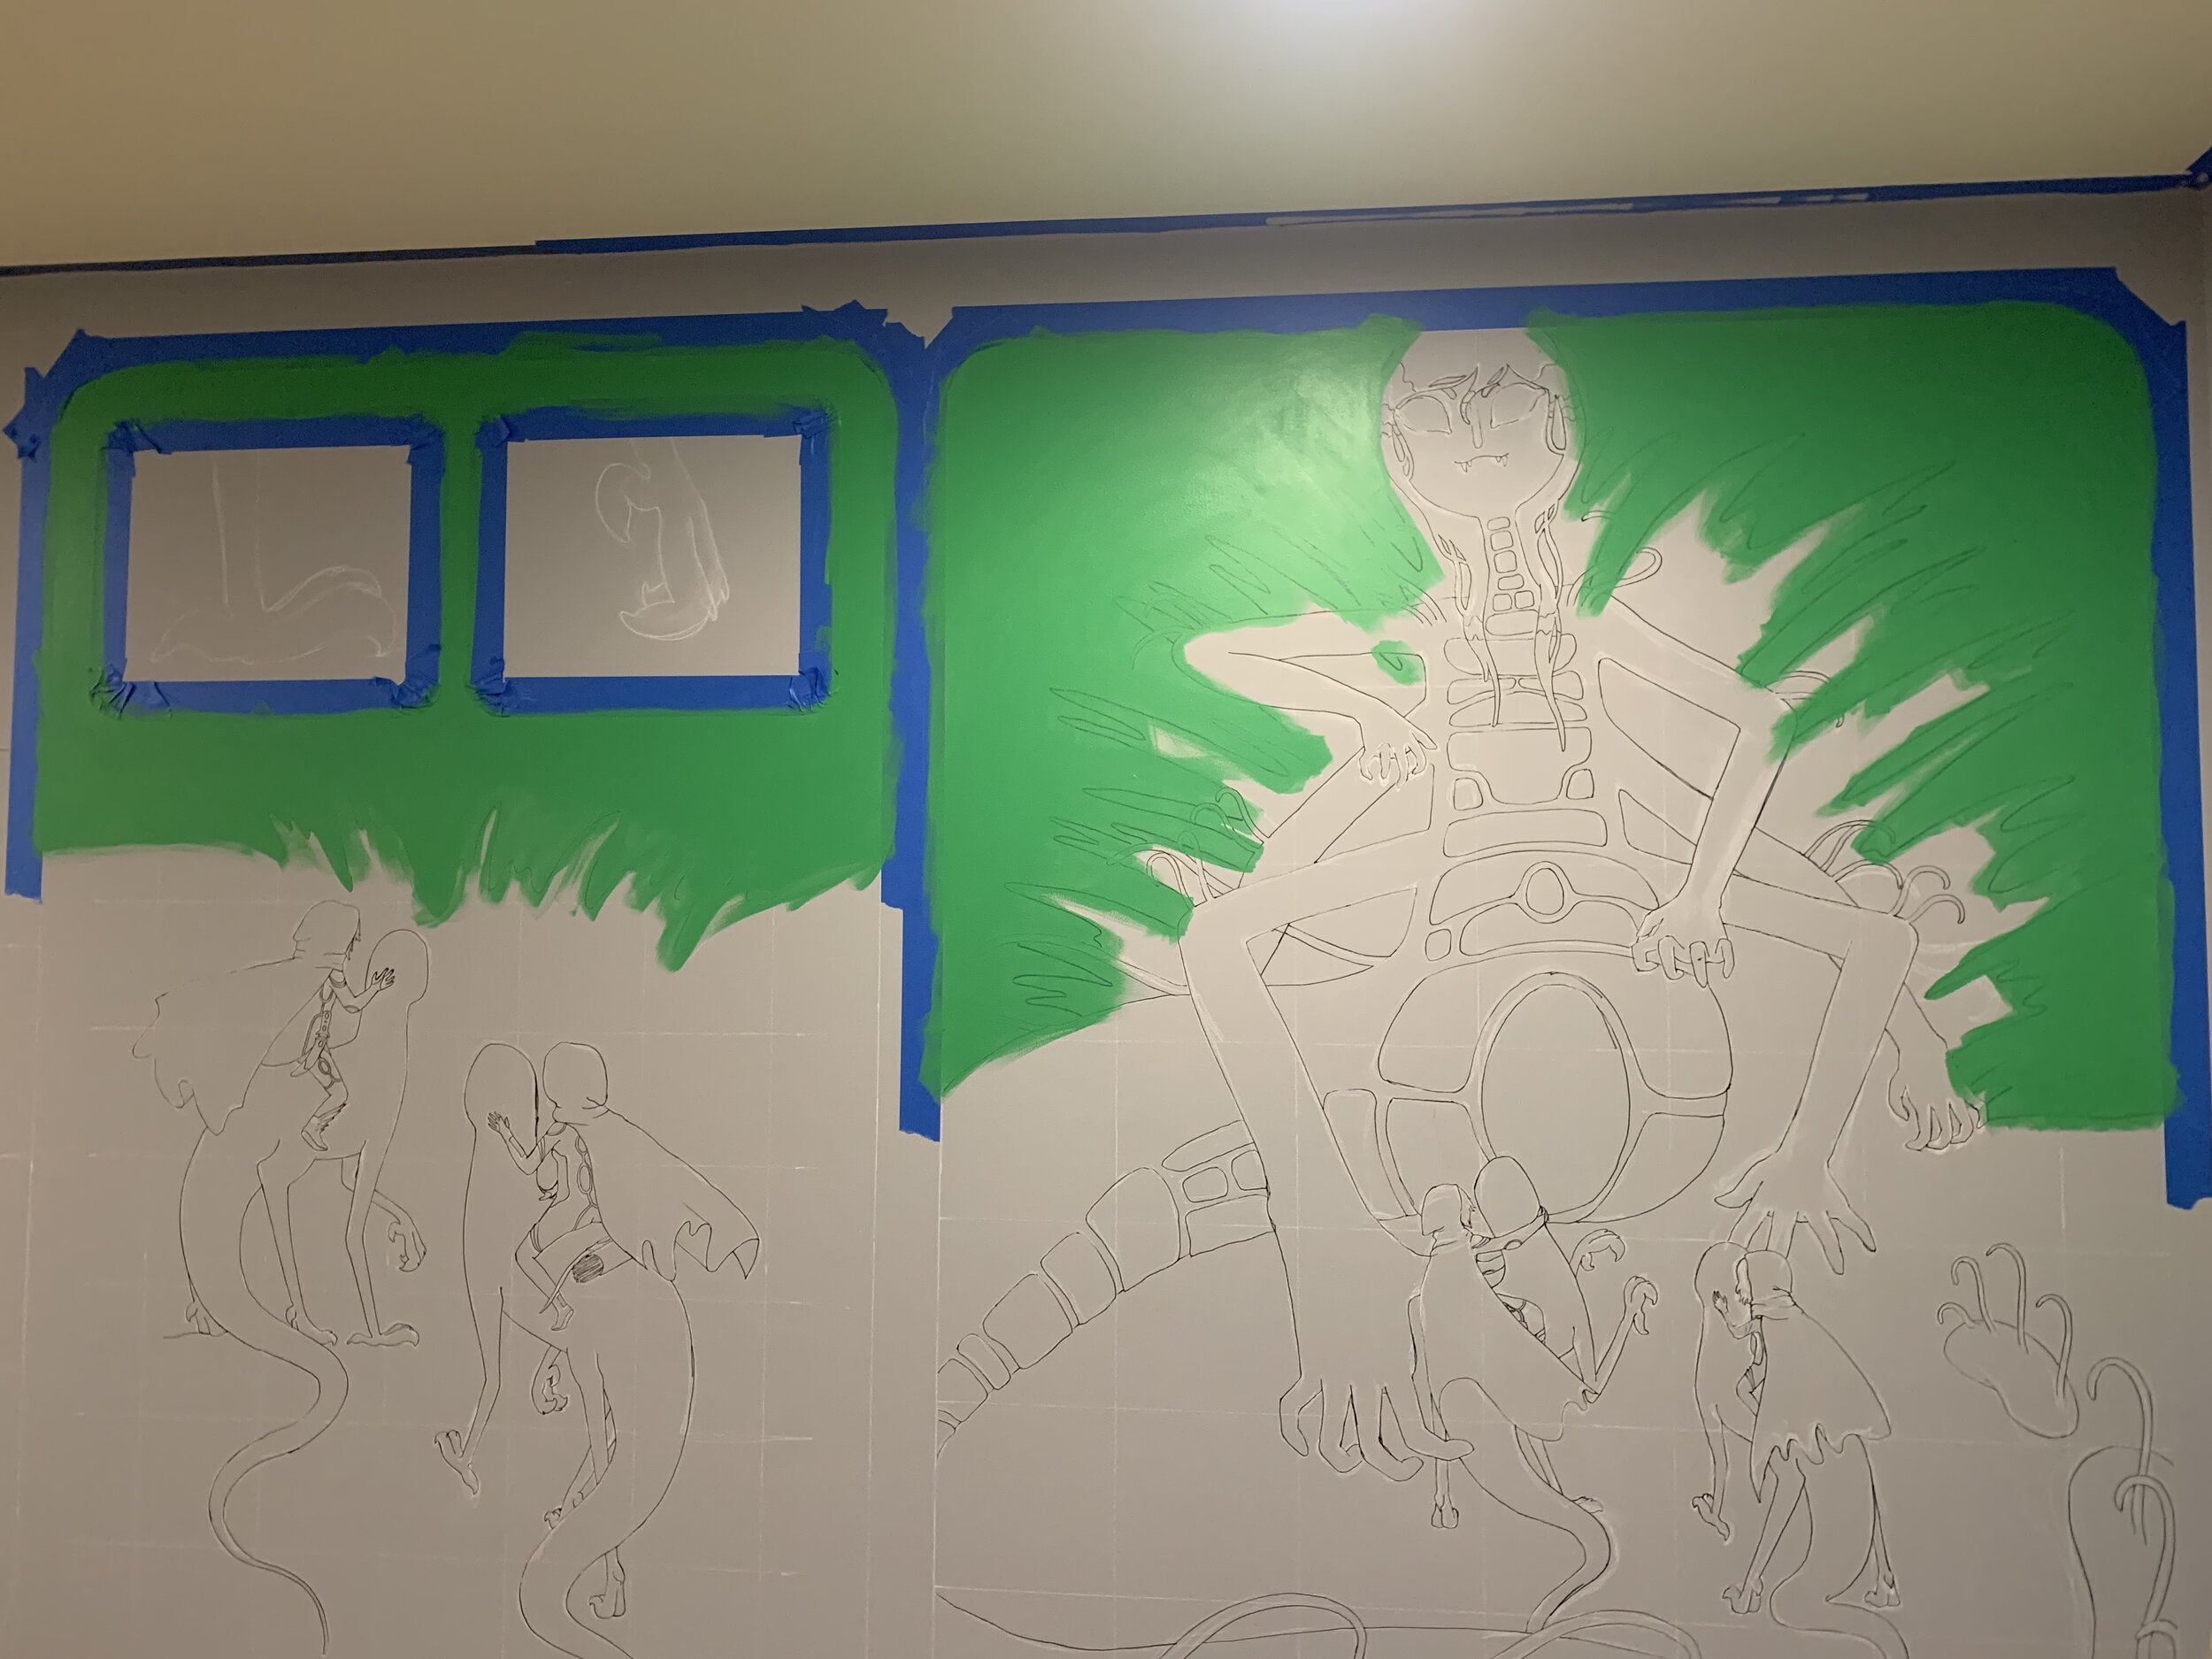


I used a sponge to blend the two shades of green, but I wasn't happy with the result. I ended up mixing several intermediate shades and blending them together on the wall. This requires great speed because the colors won't blend once the paint dries.

It’s important that your beverage matches your color scheme.


Even though the color was a near perfect match when held next to the mockups, on the wall it was reading as more of a brownish orange than pink.

I did some more mixing and fixed the sand color. I also brightened the red so it didn't look so much like Christmas.


Taping in circles actually worked much better than I thought it was going to.


It's all starting to come together...

This is as far as I got before I had to come home and be with my cats. I would like to visit again in the Spring and finish up some final details(most of the outlines).


As a bonus fun surprise this cityscape is outlined in glow-in-the-dark paint, which is super goopy and difficult to paint with. Sorry for turning your basement into a LaserQuest.